Data Room Creation
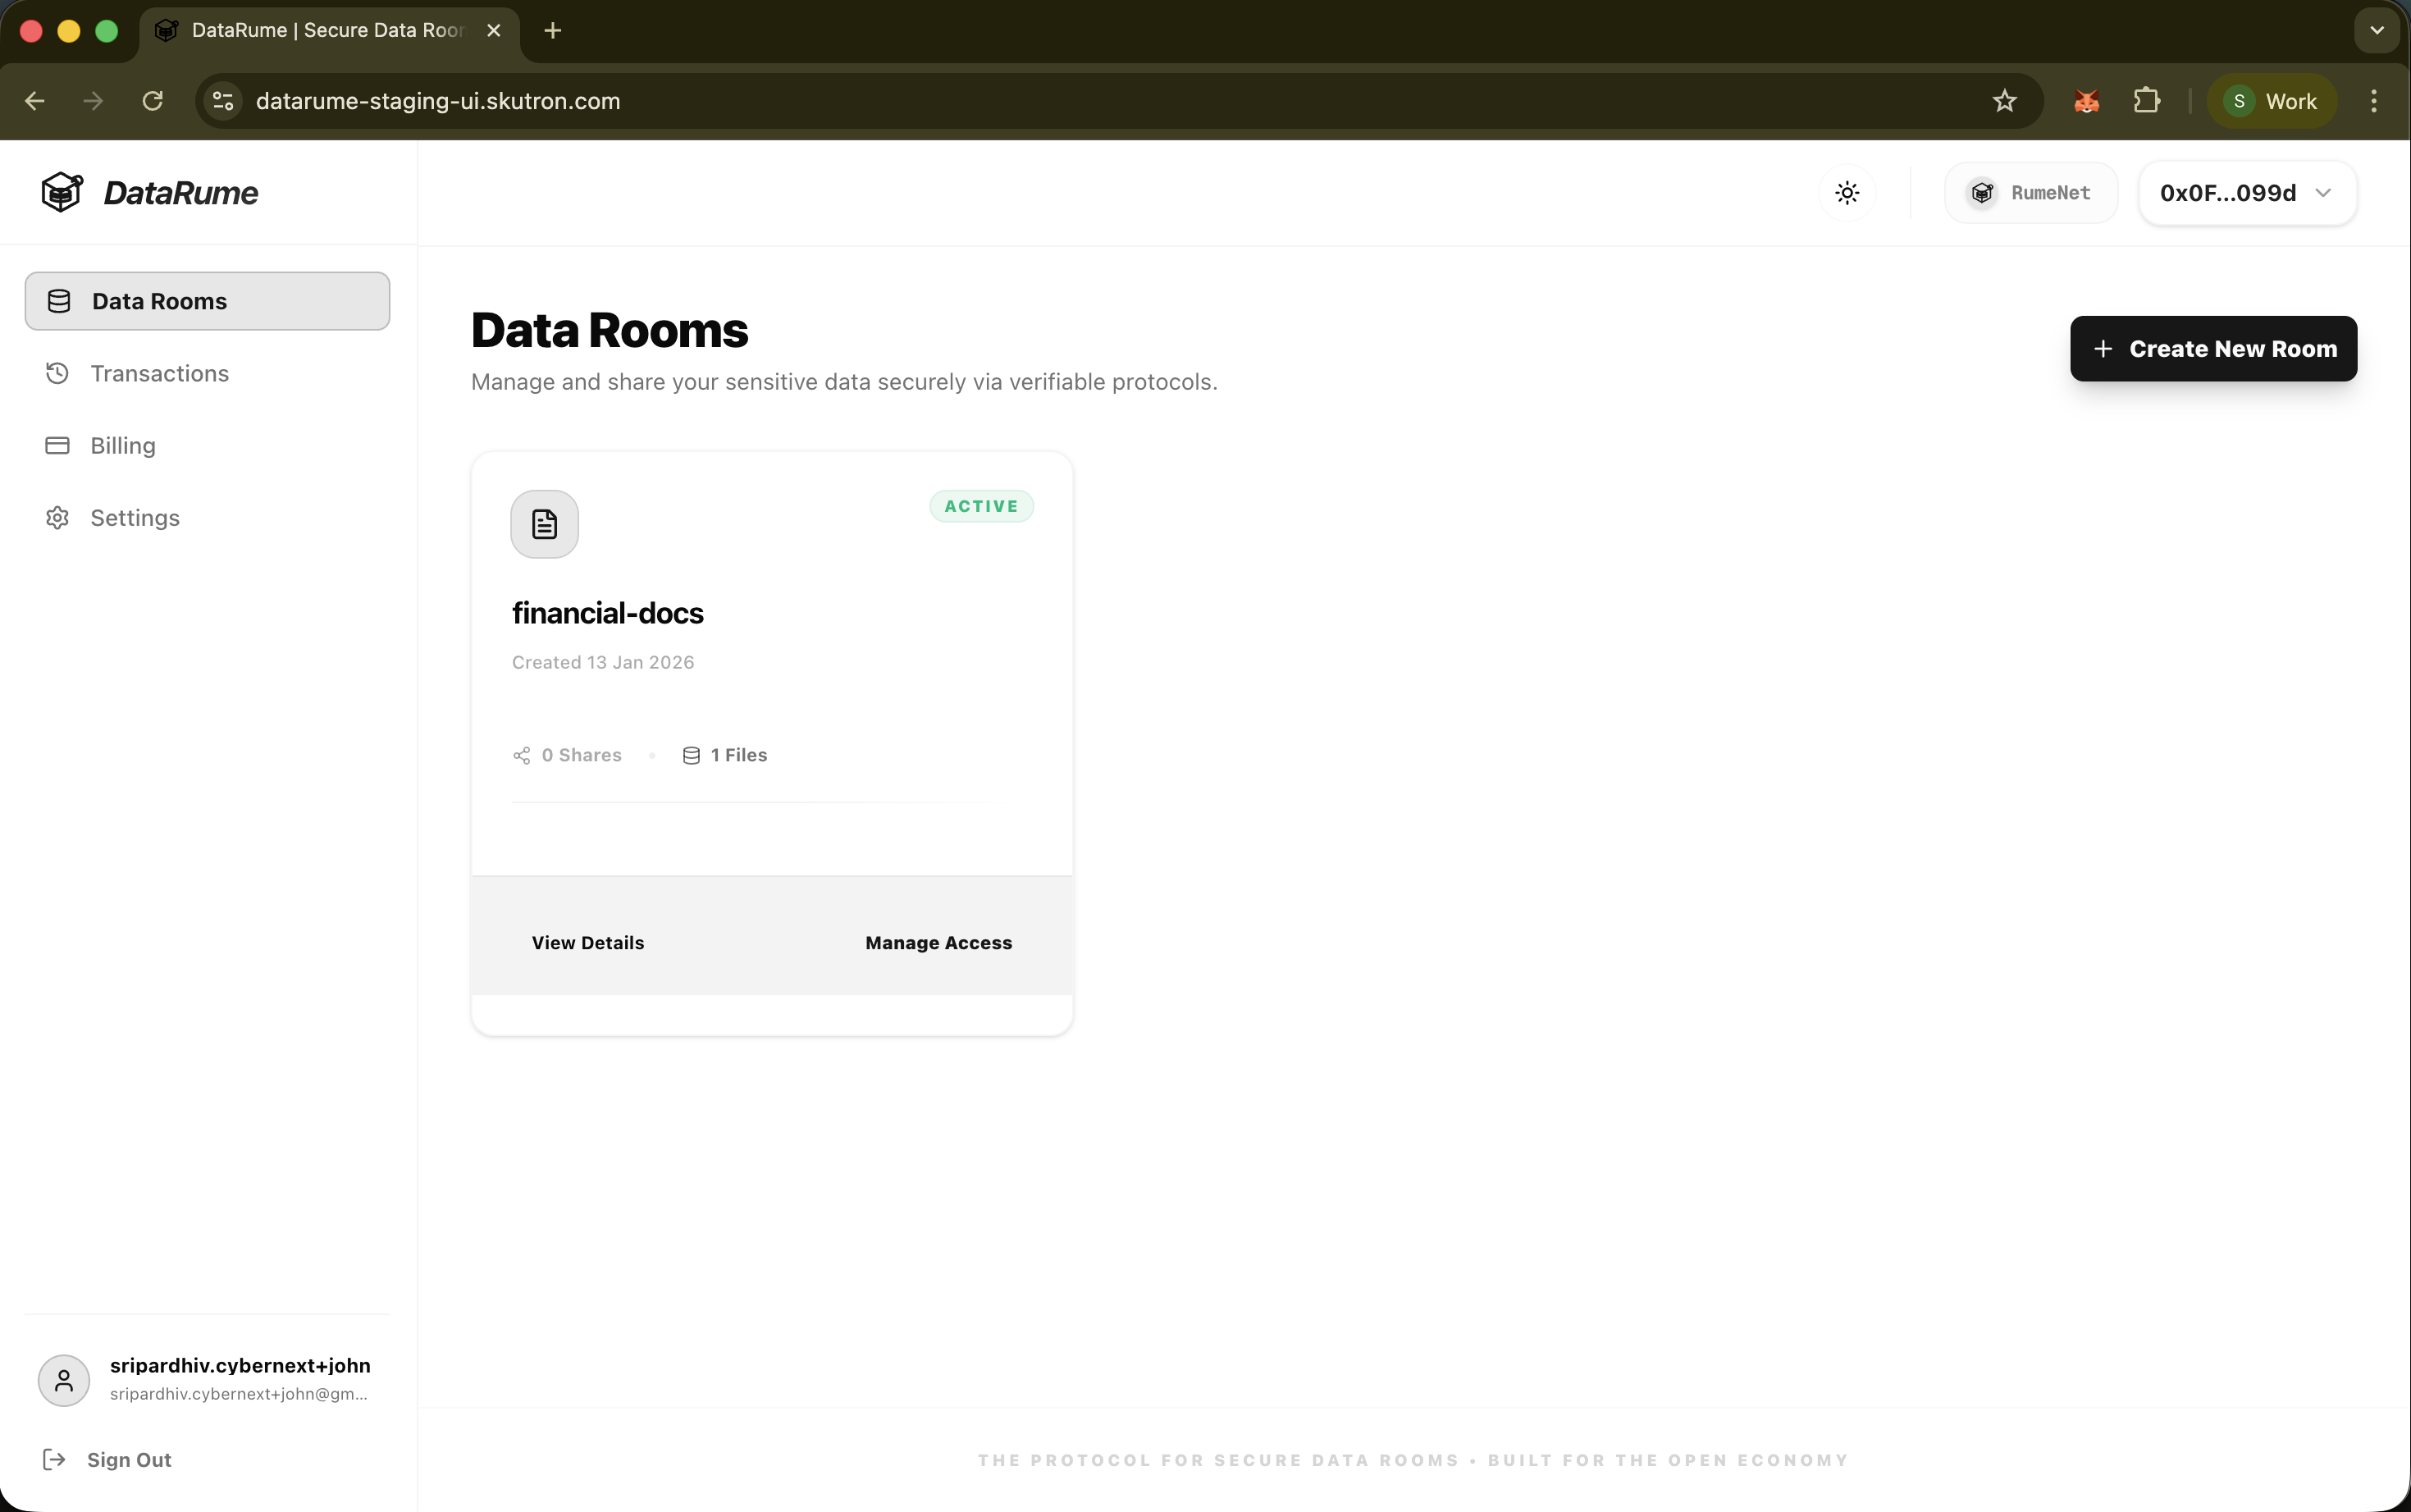
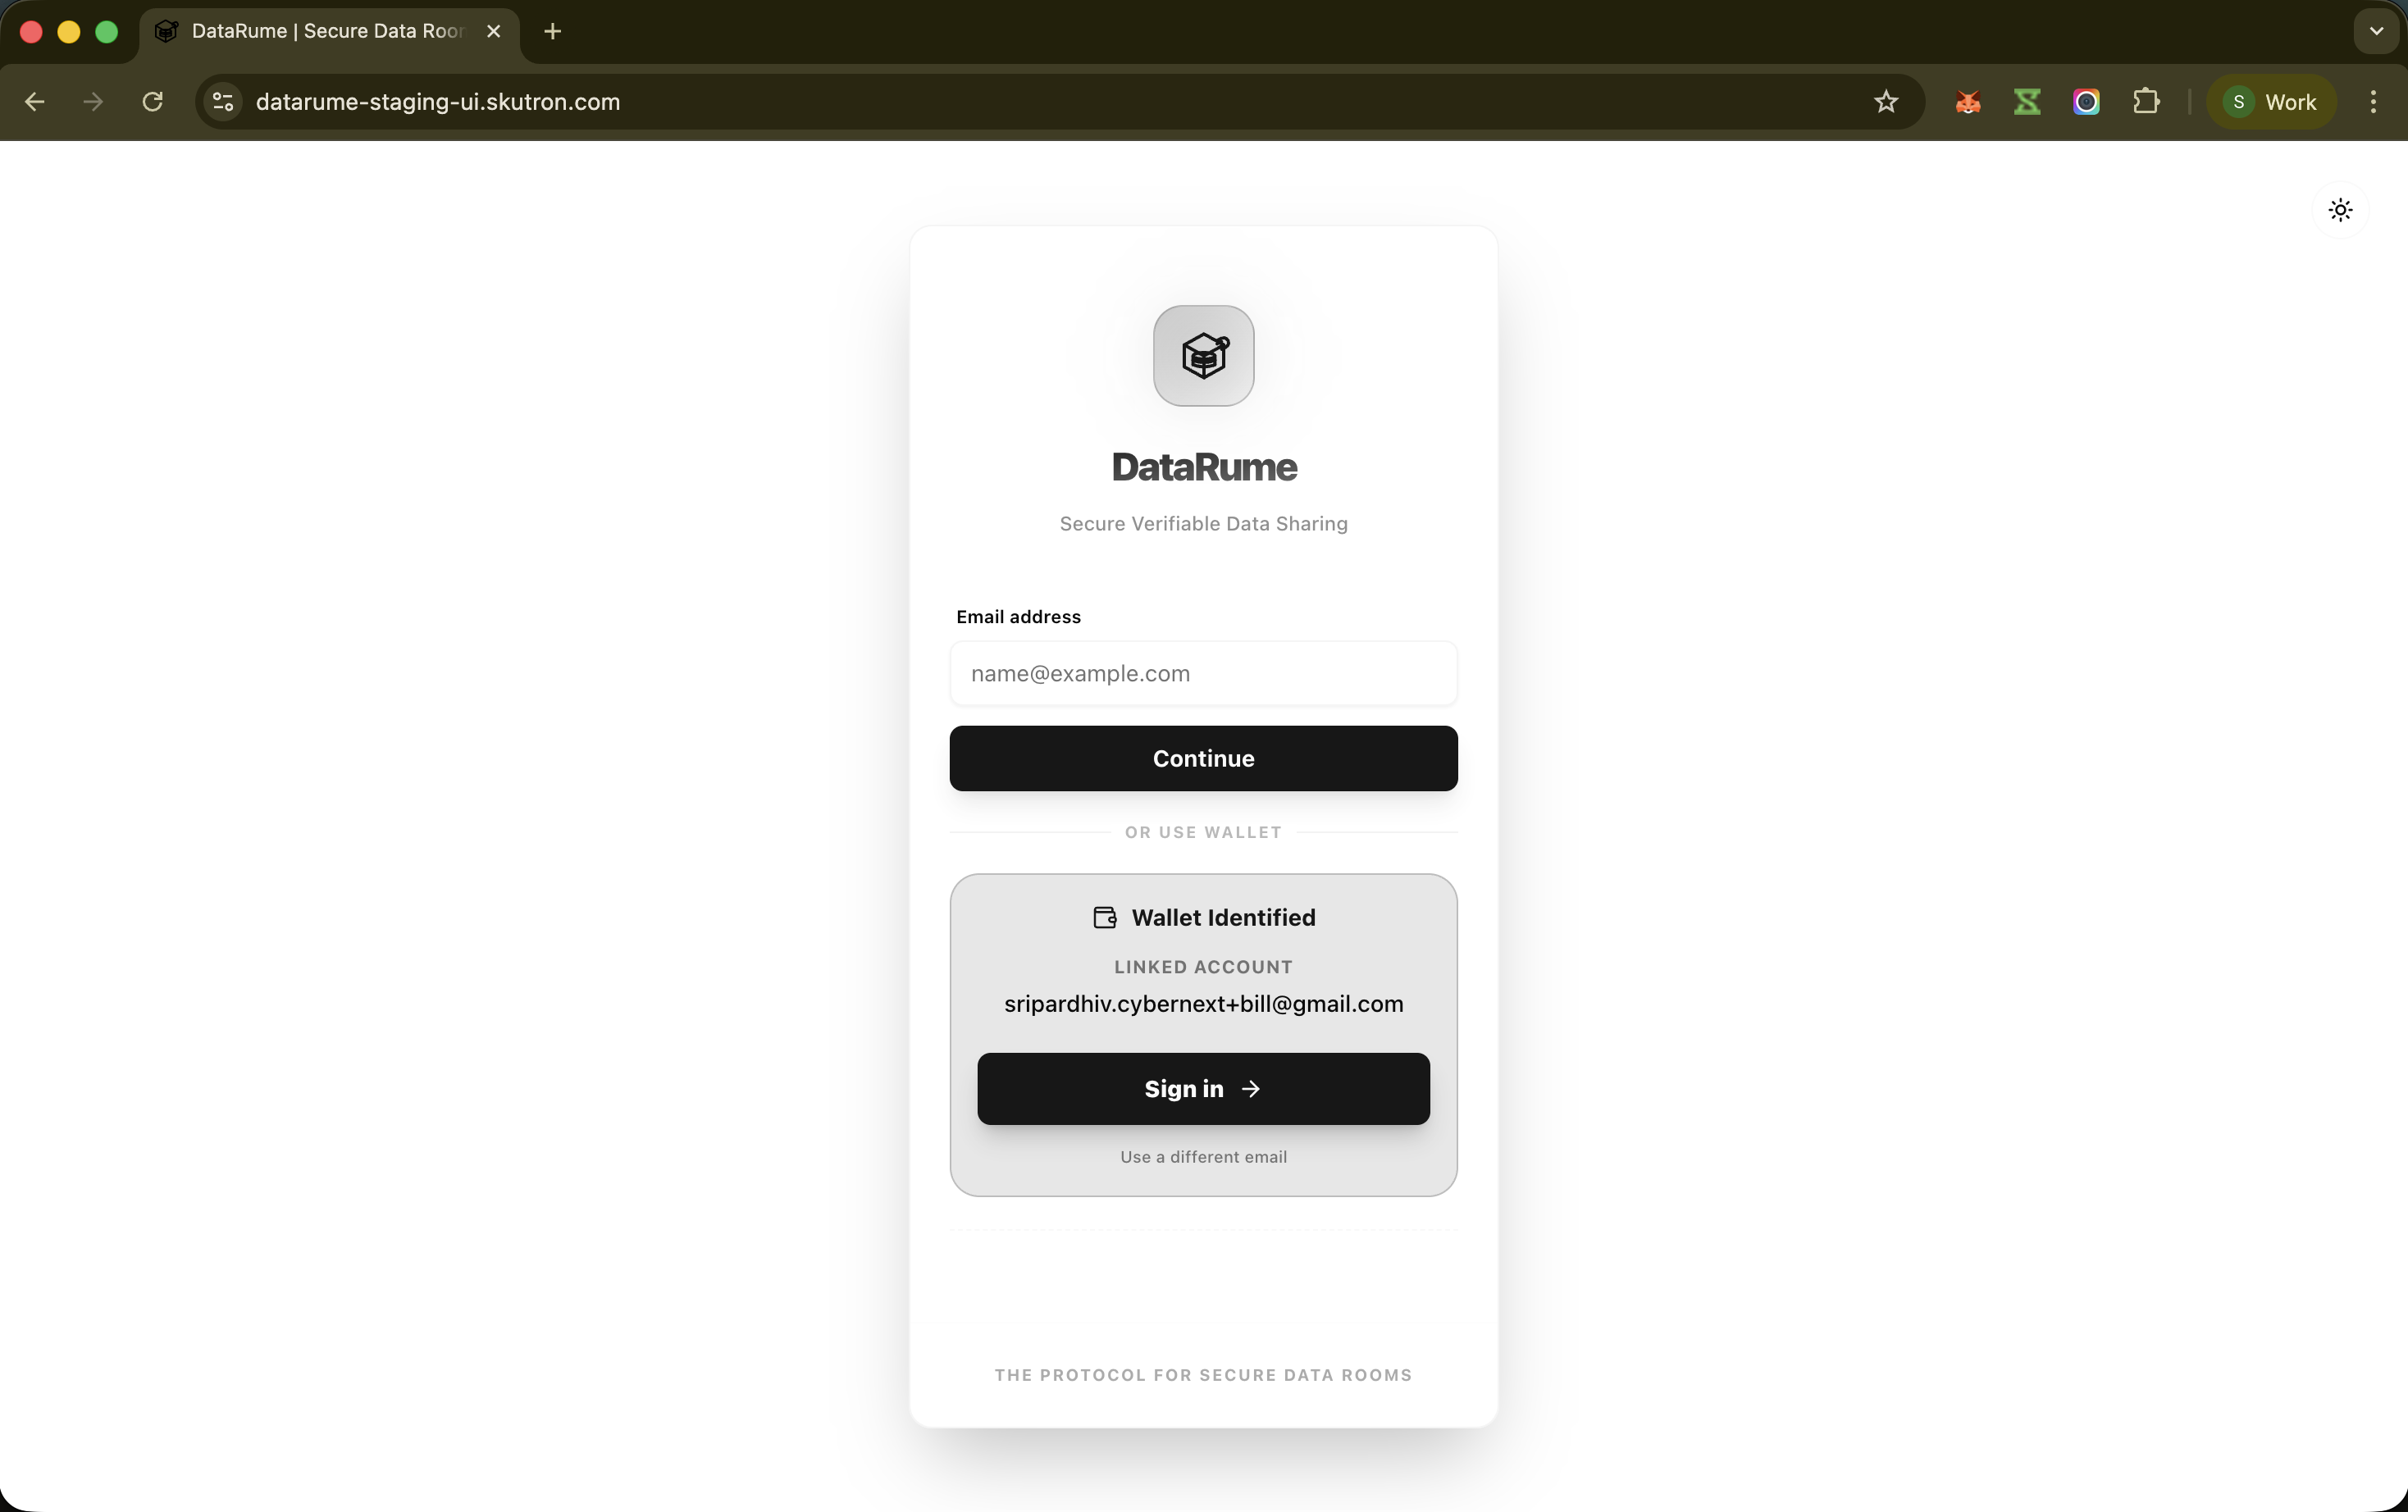
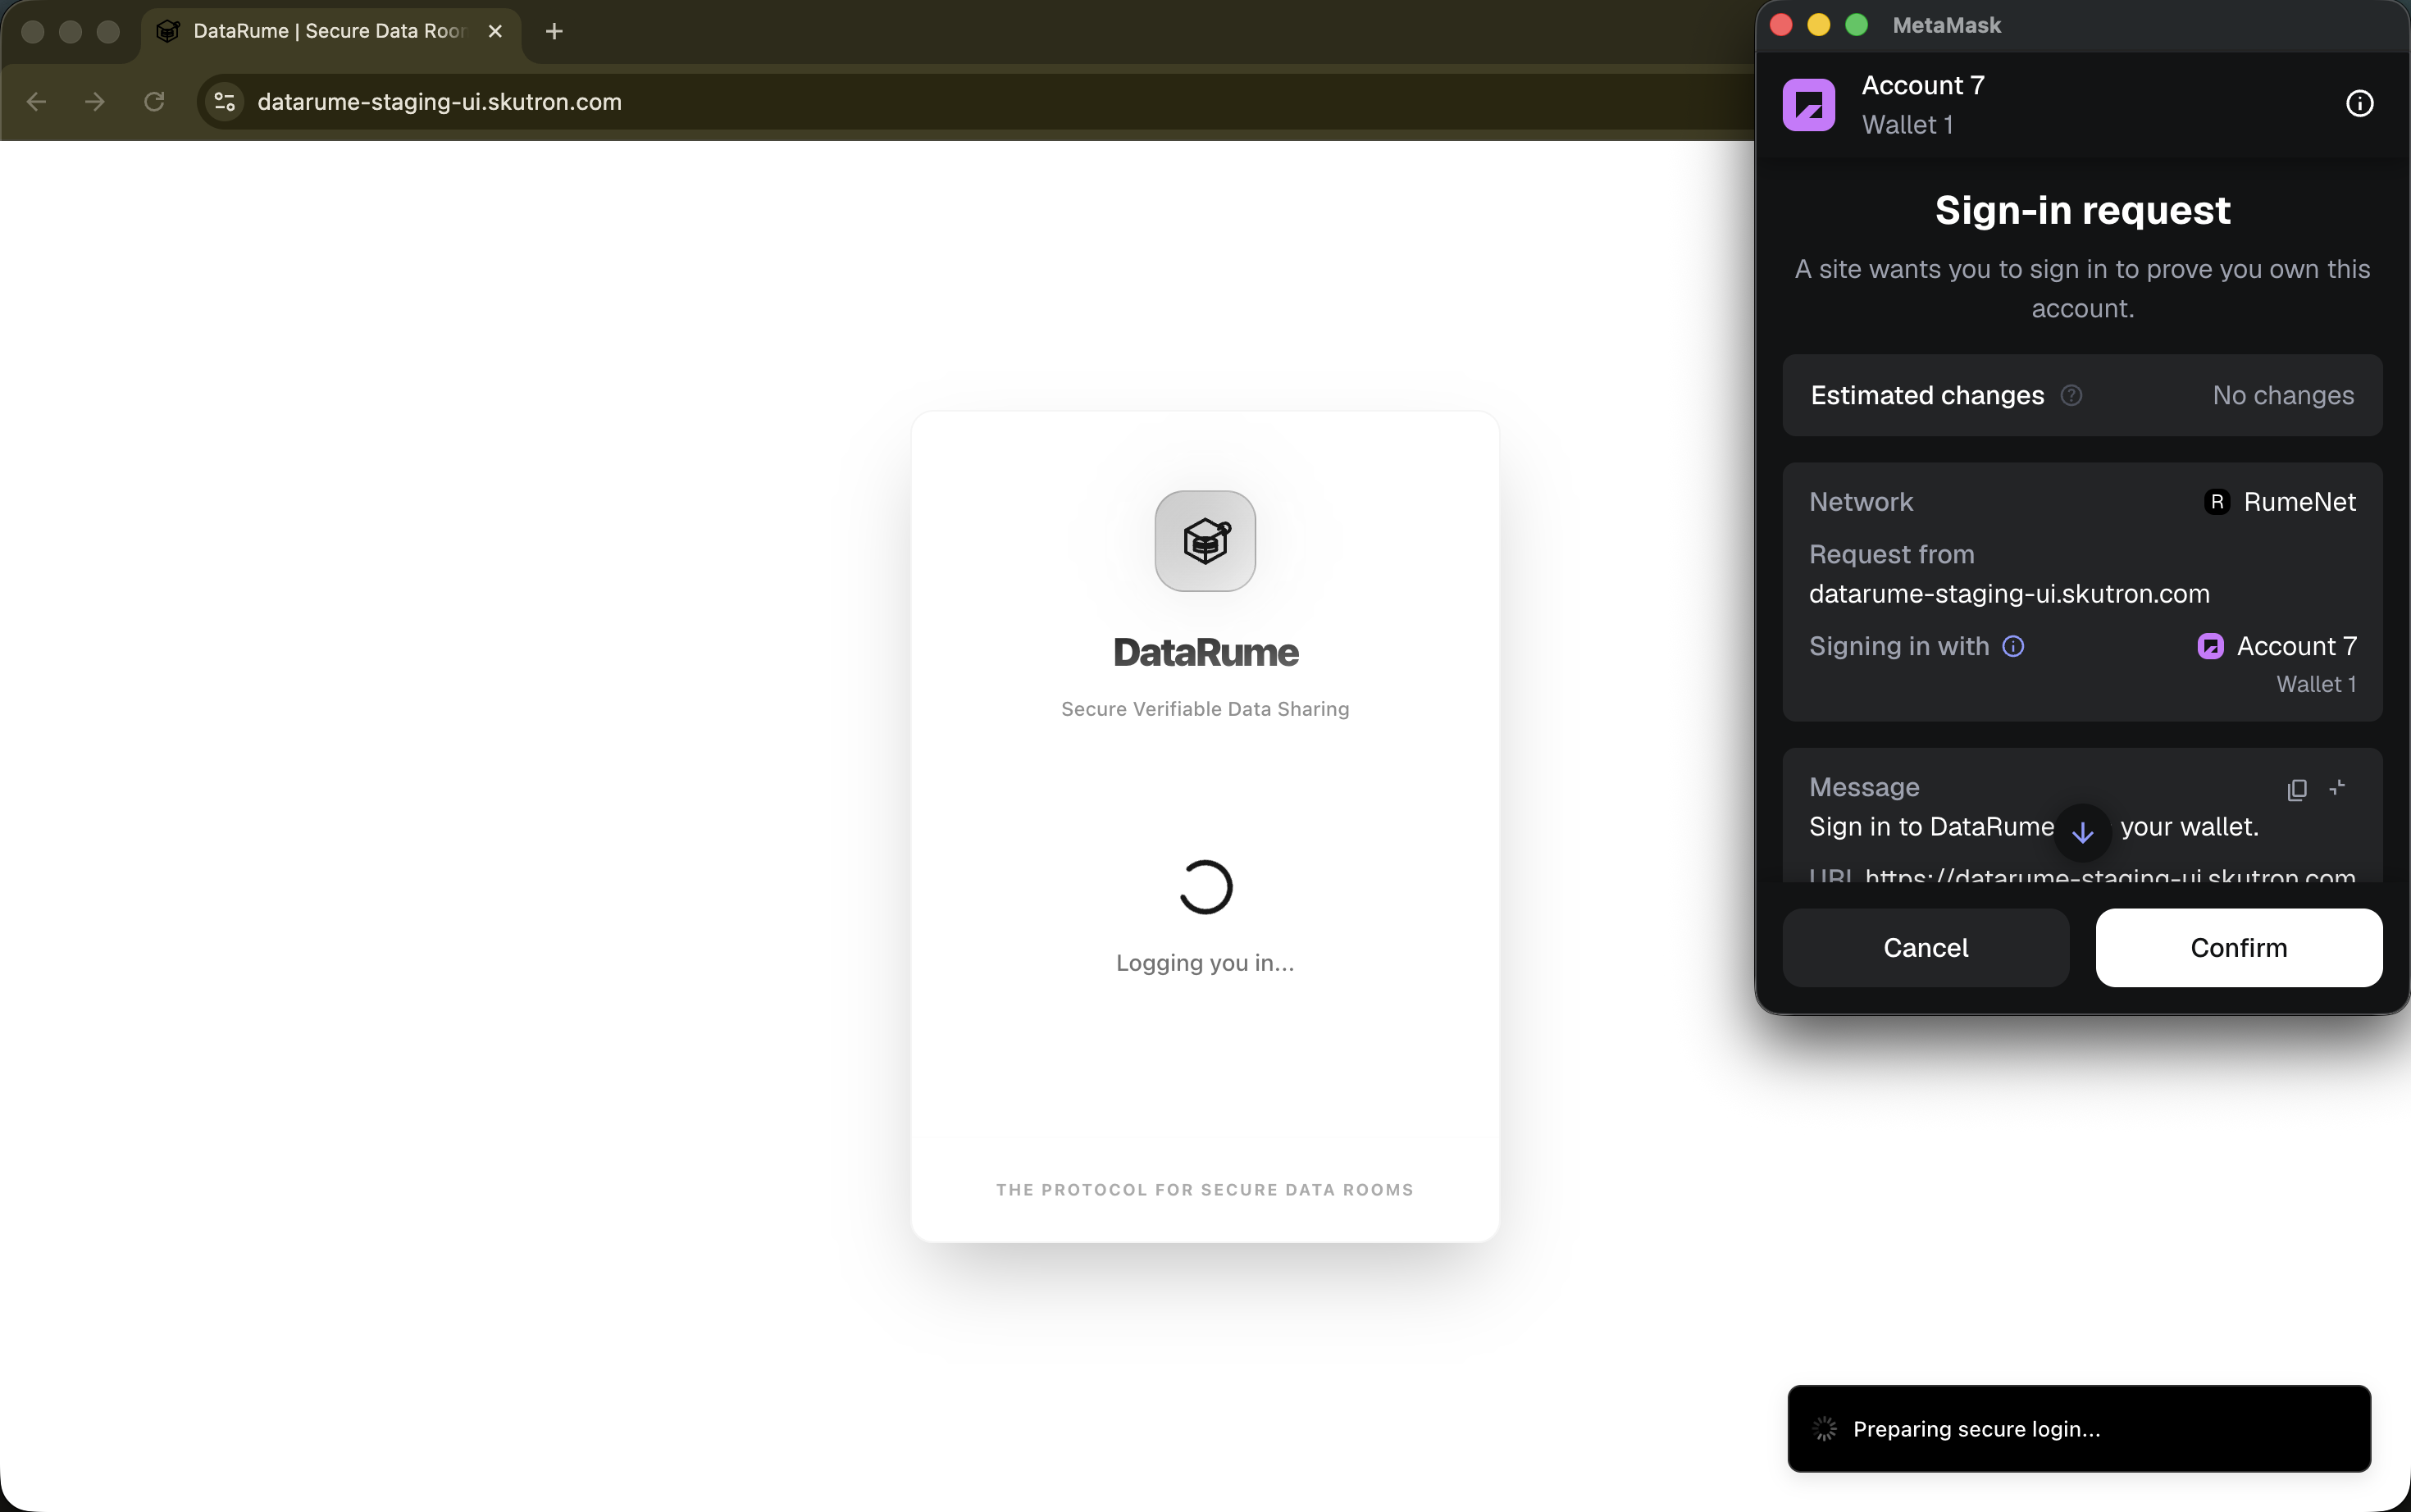
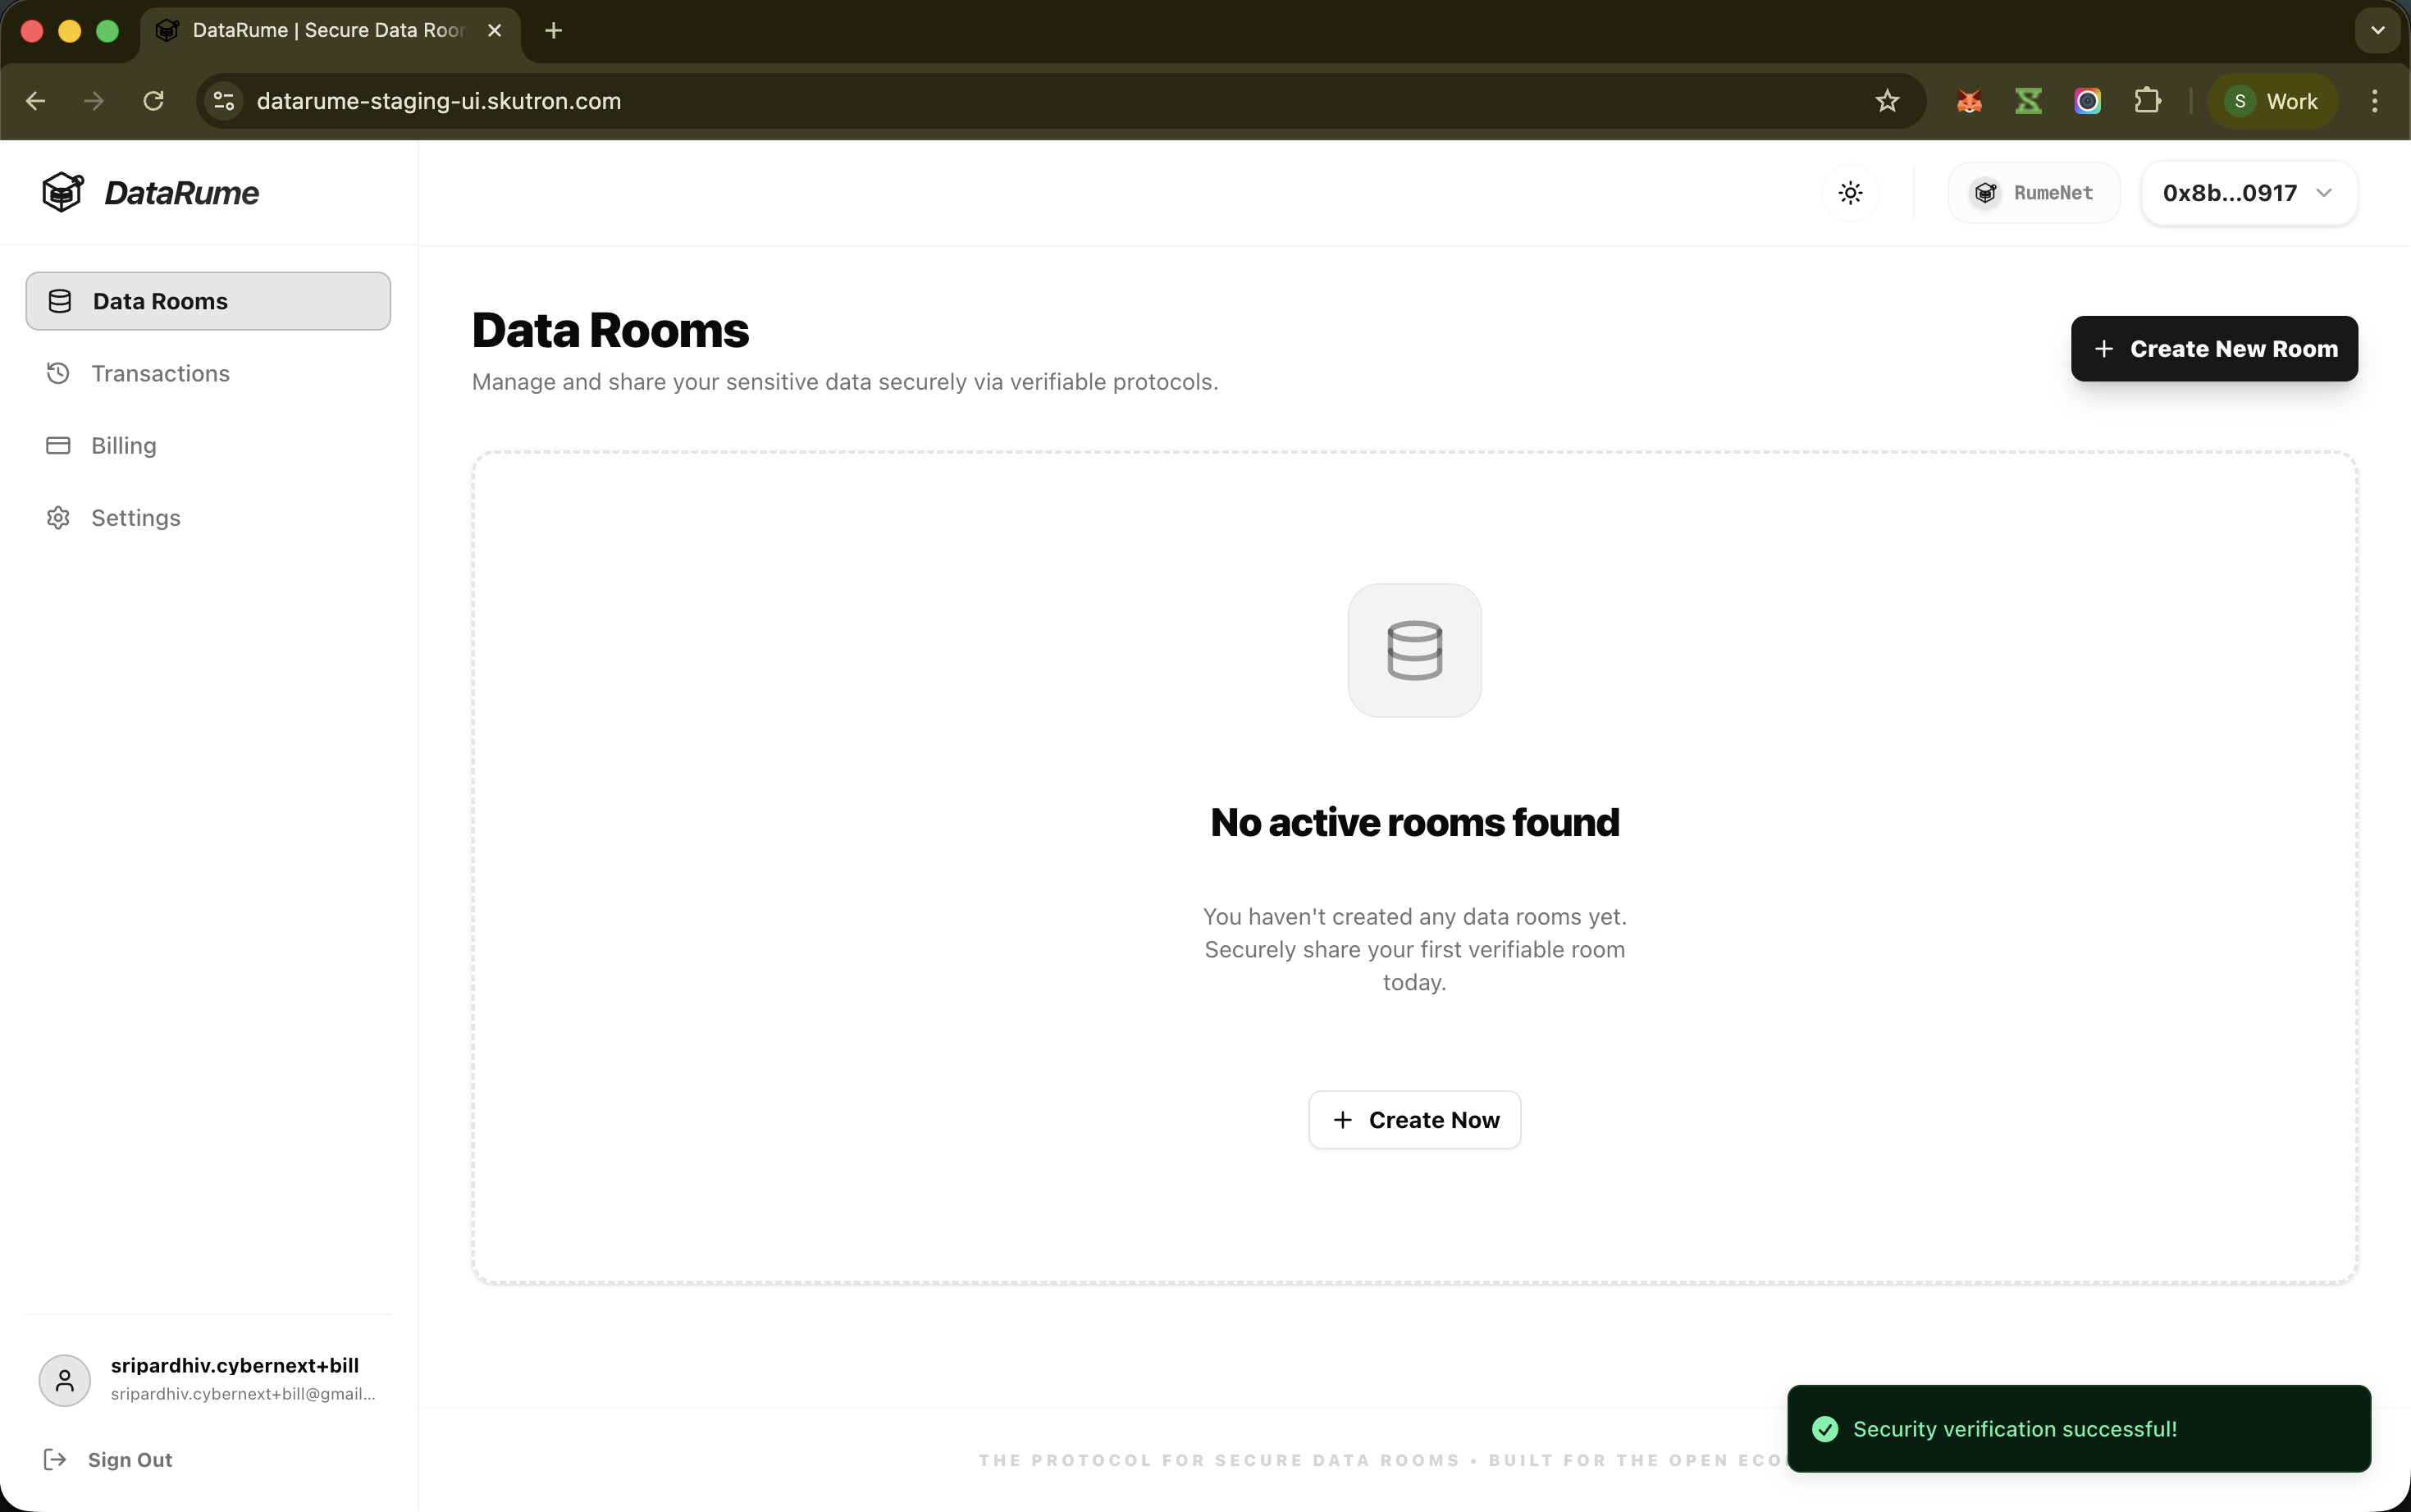
The Data Room Owner signs in using his wallet and verifies his identity. After successful verification, he navigates to the Data Rooms page.
Initializing a Data Room (Draft Mode)
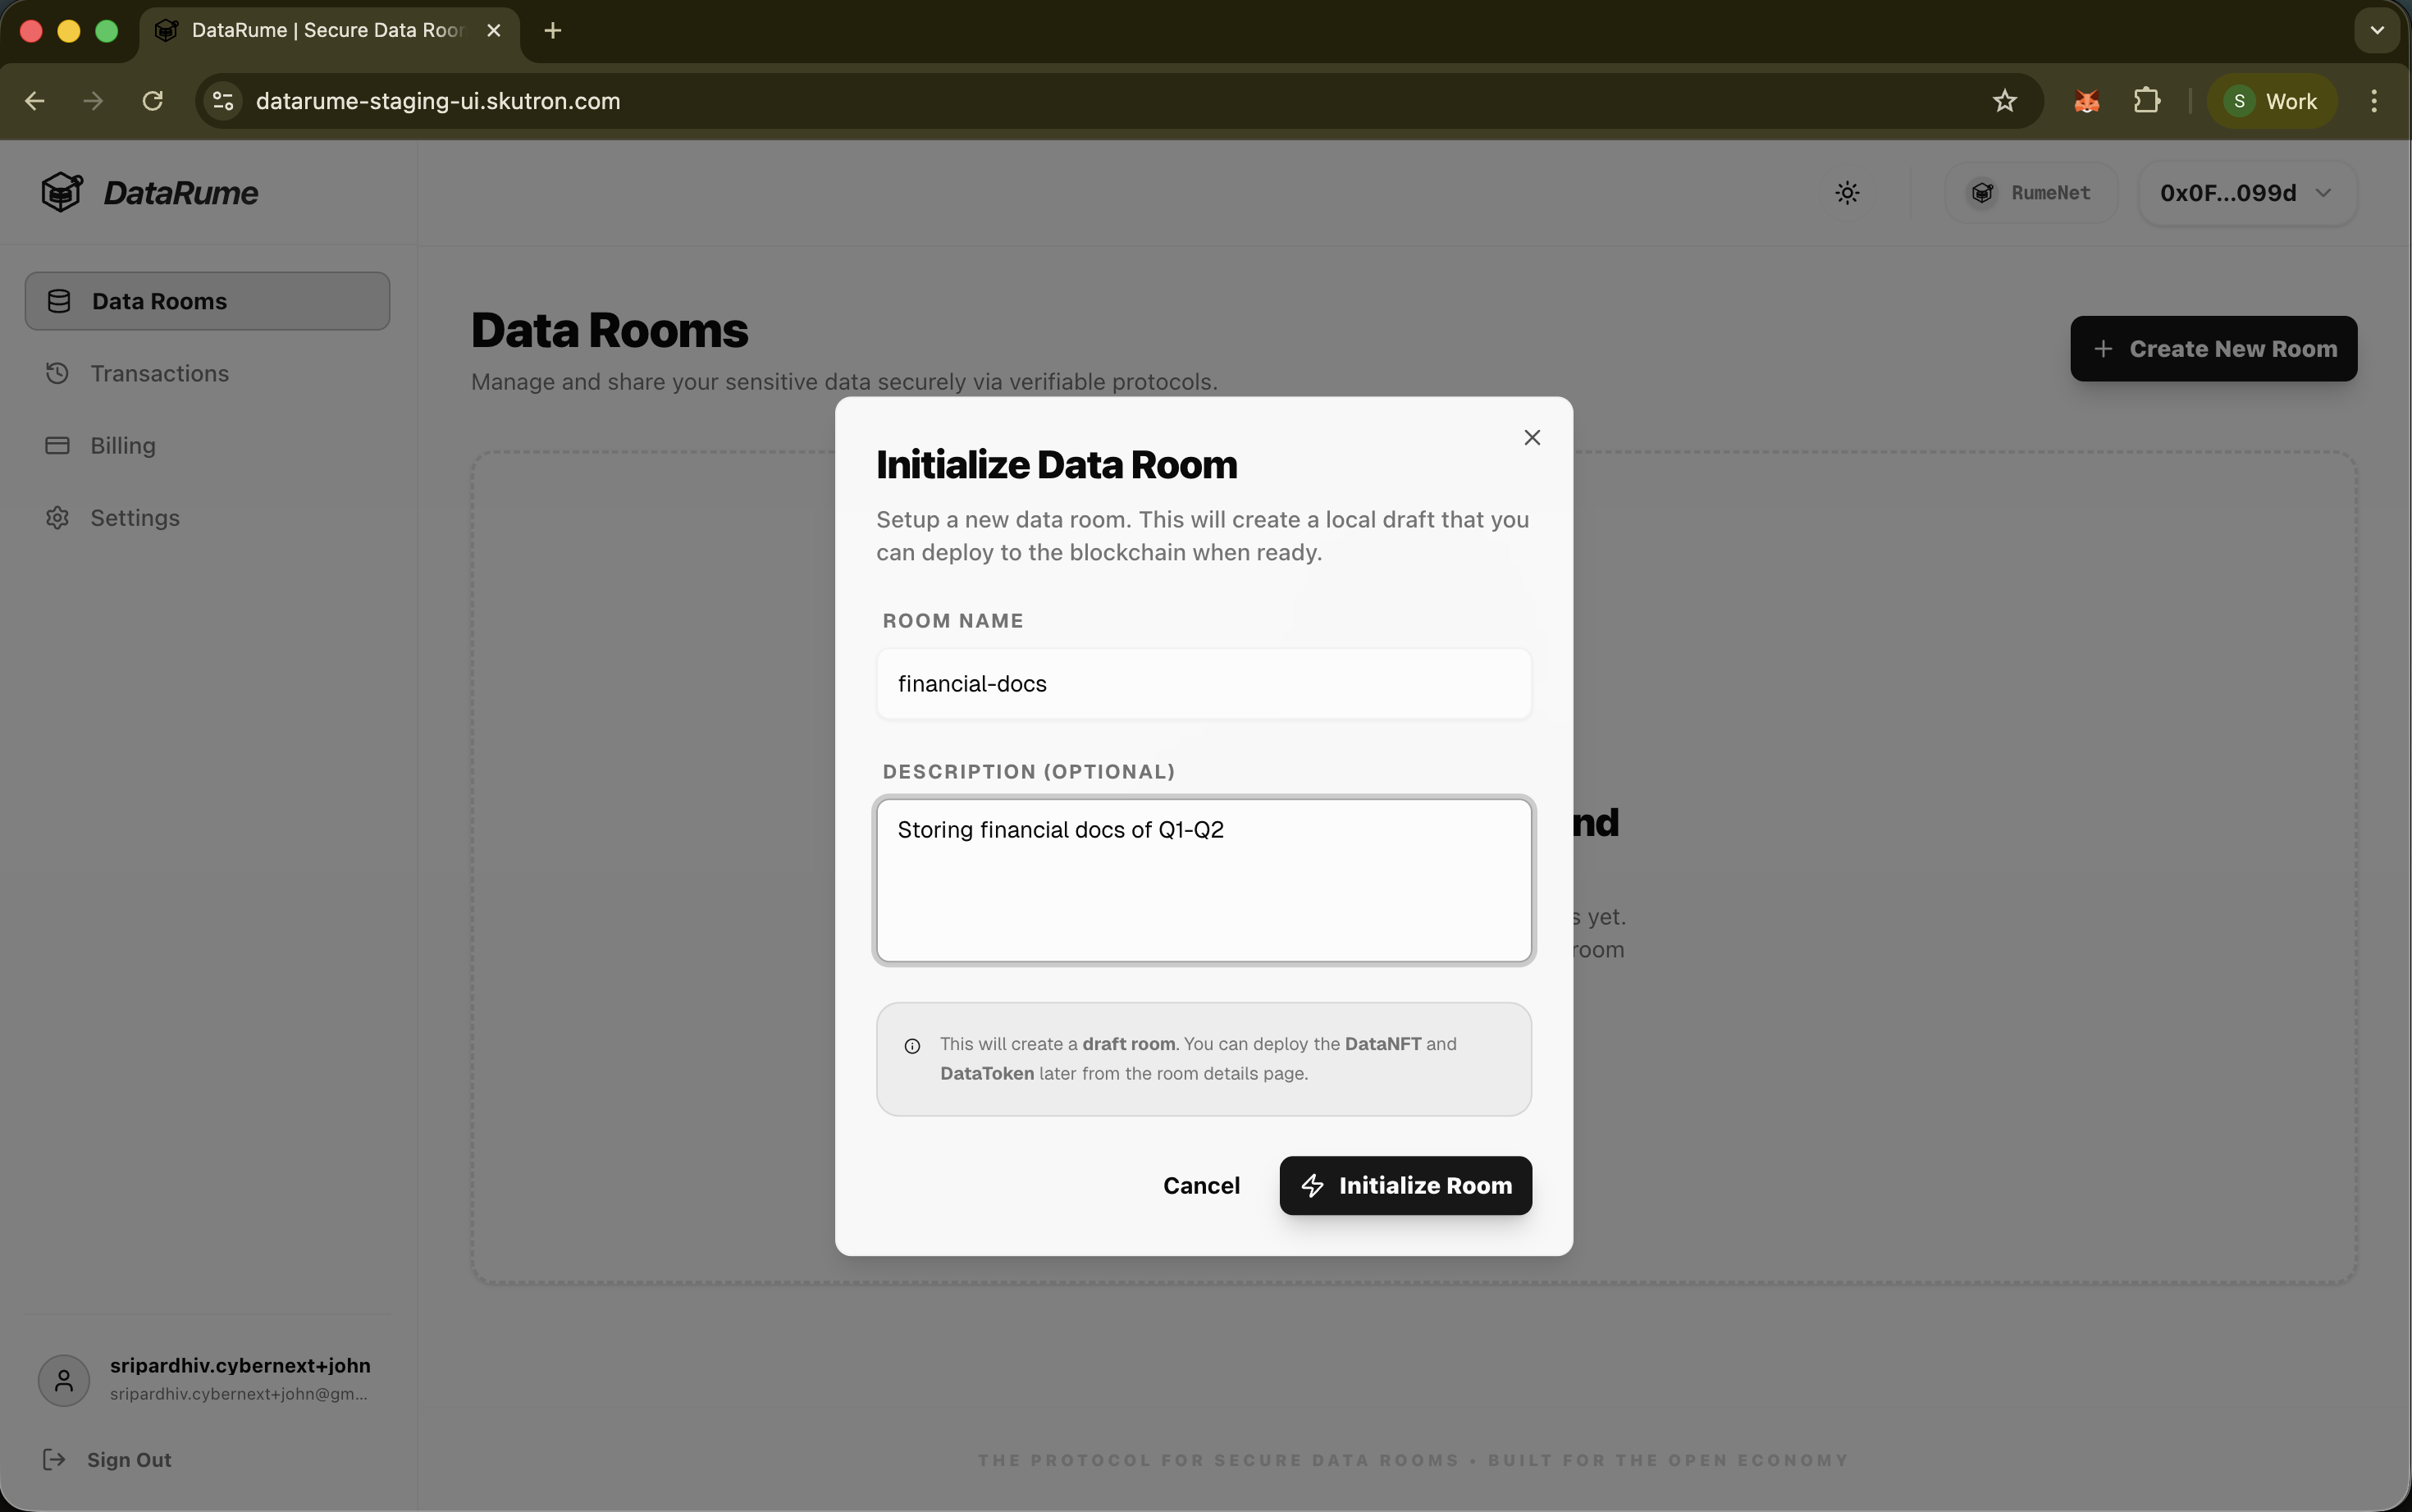
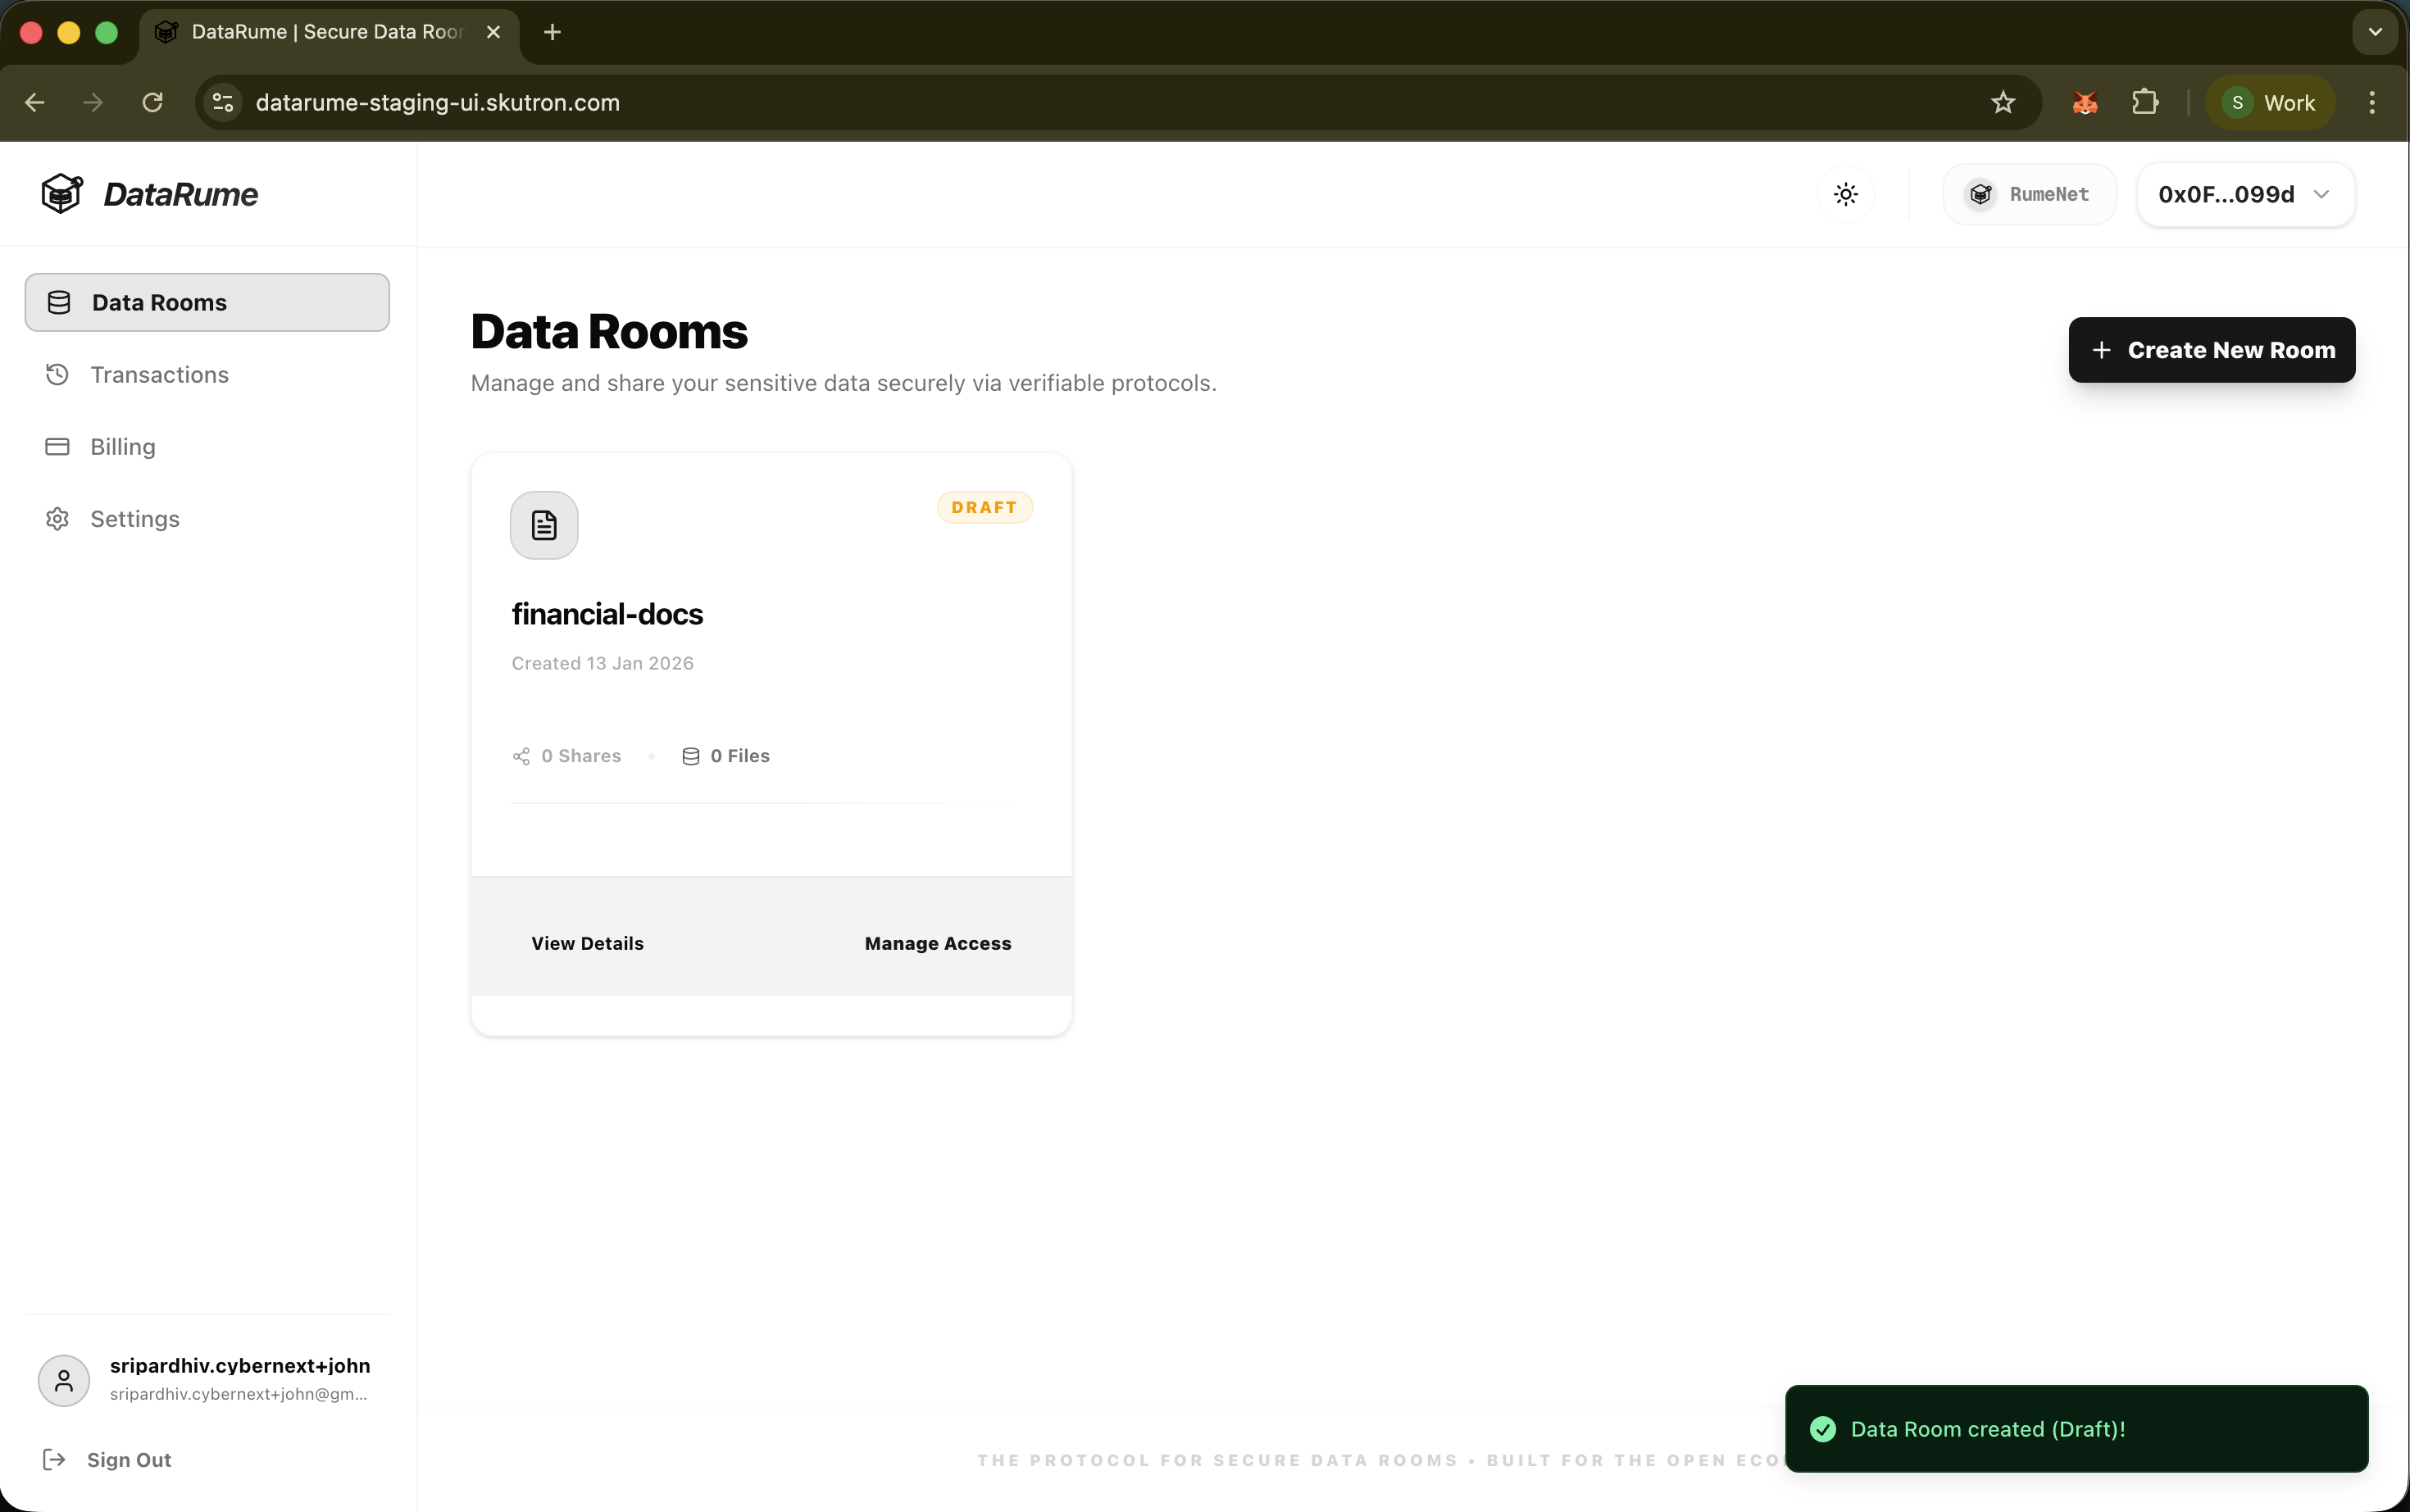
The Data Room Owner creates a digital data room. This exists as a "Draft" before being committed to the blockchain.
- Navigate to the Data Rooms dashboard.
- Click Create New Room button.
- Define the name and description.
- Click Initialize Room button.
The Deployment Wizard
Drafts must be deployed to a network to support transactions.
- Select the draft Data Room.
- Complete the configuration wizard:
Step 1: Assets & Storage
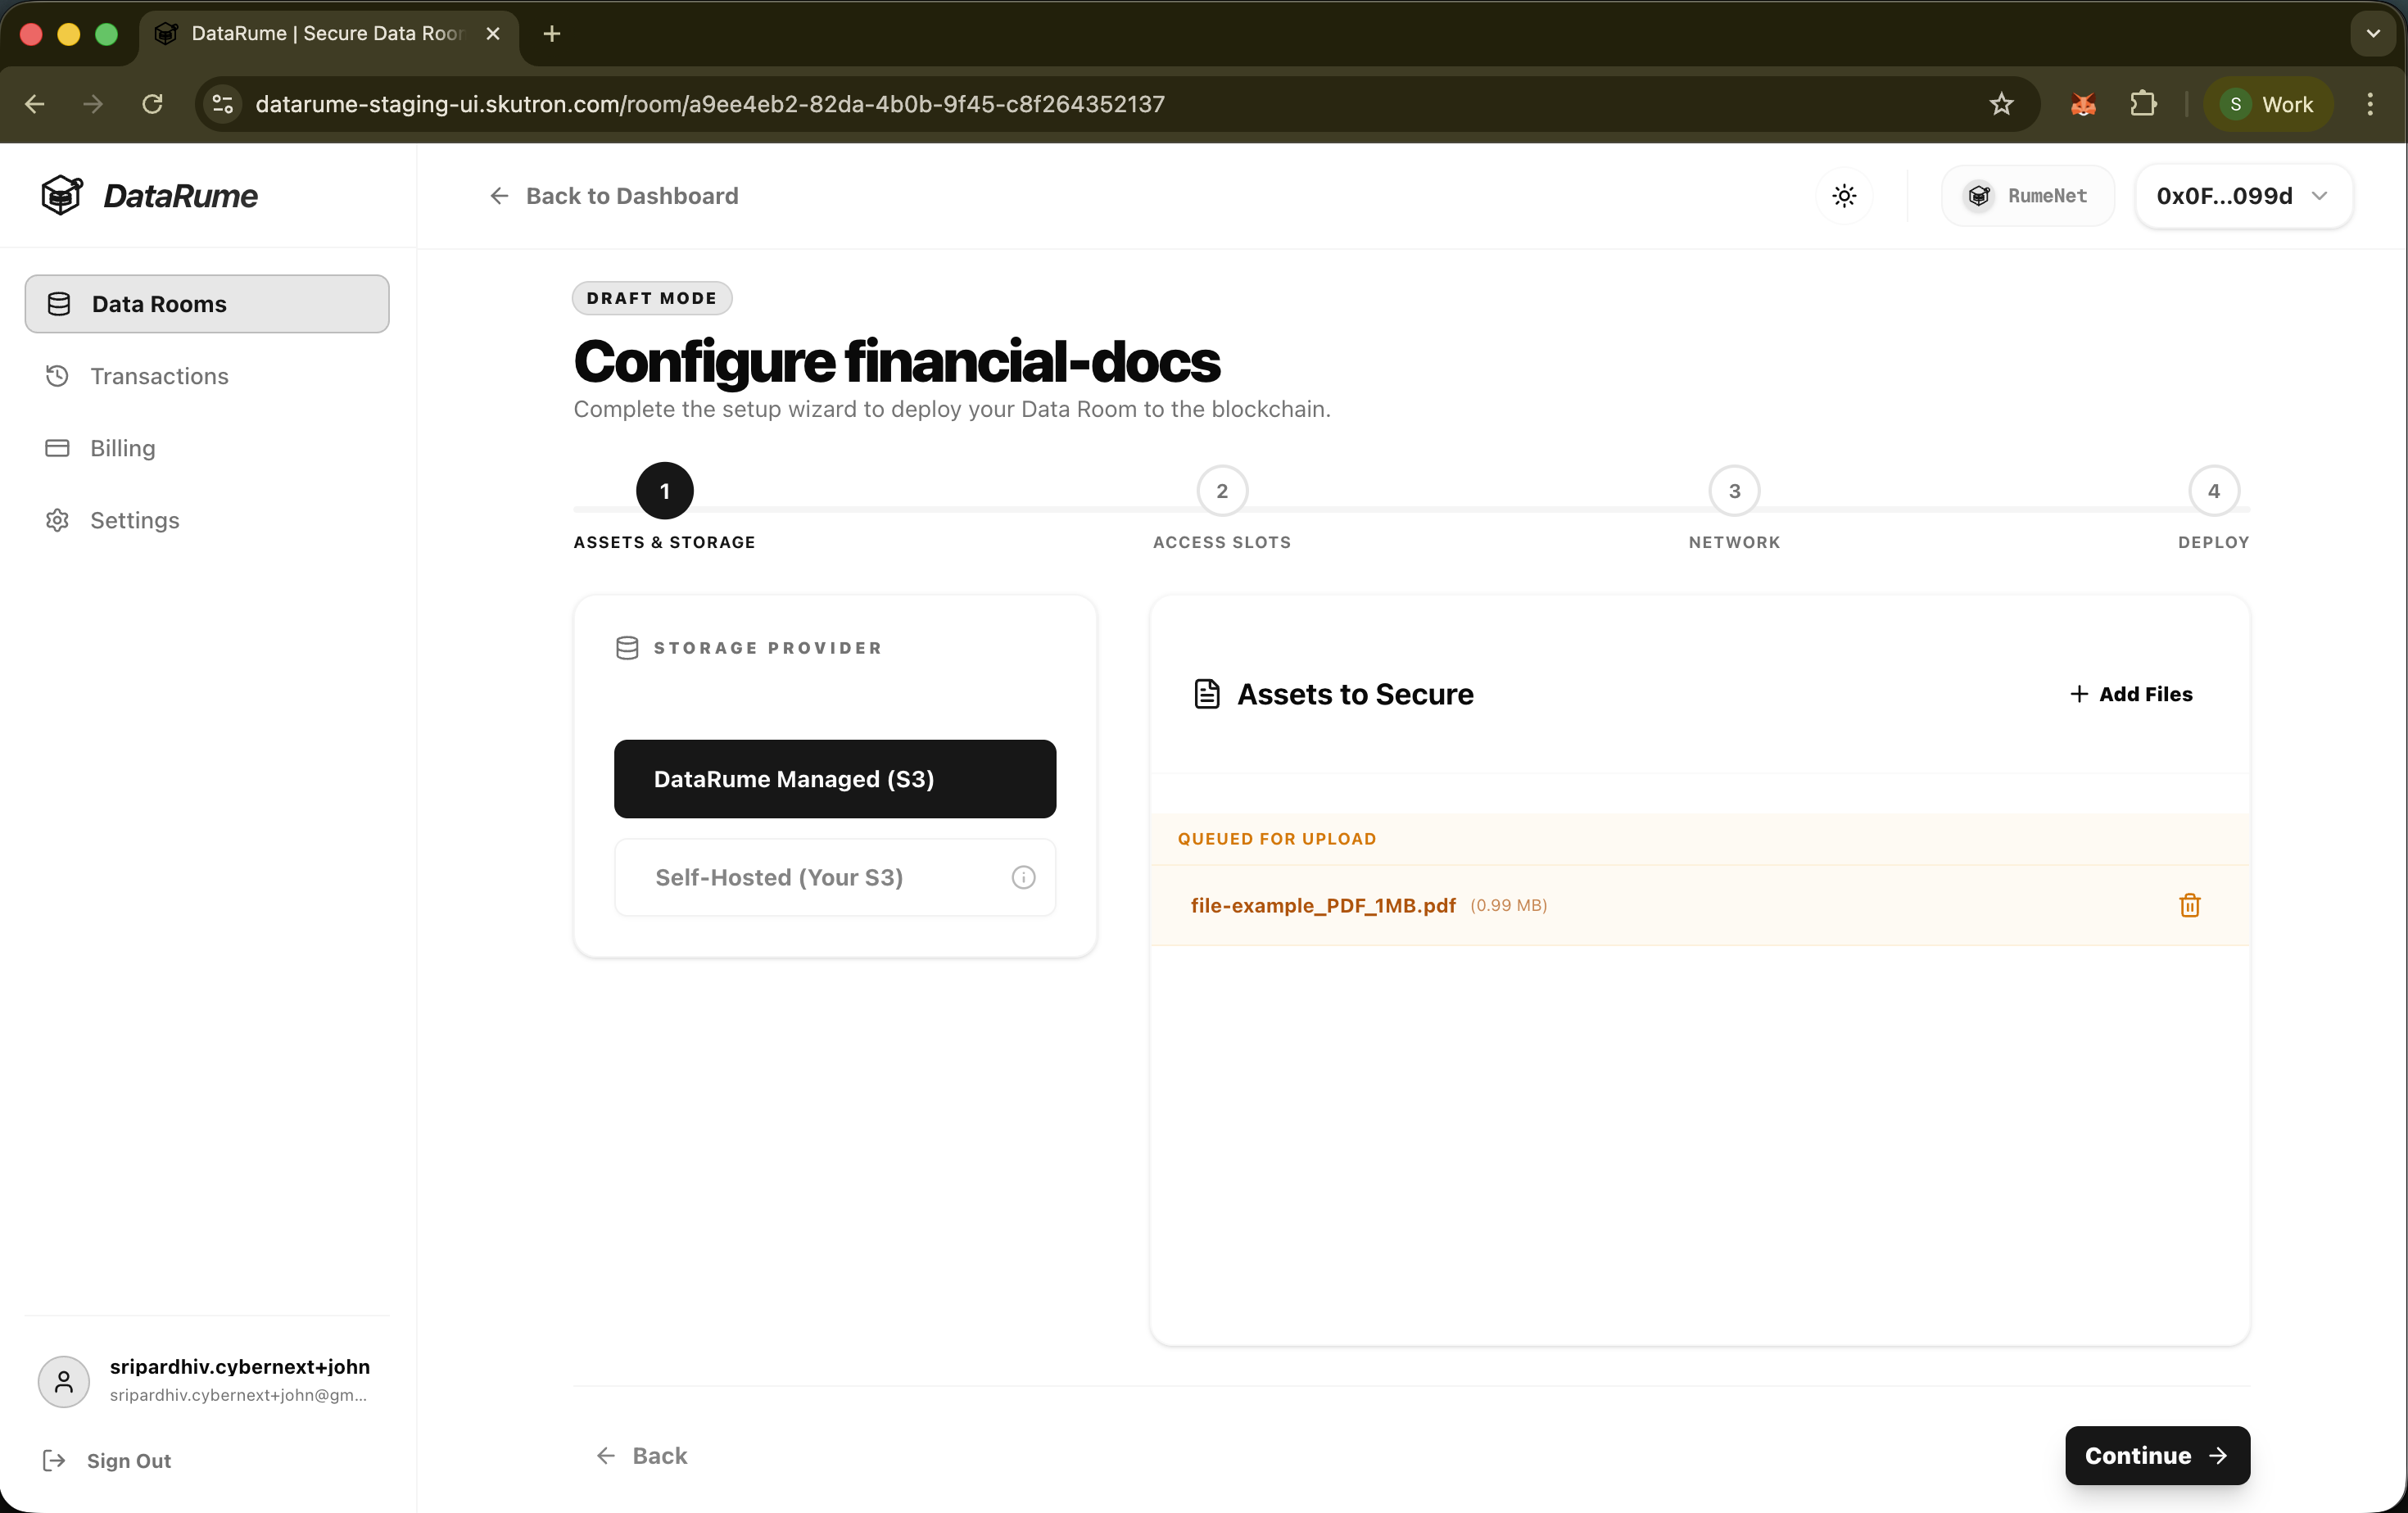
Add files to the AWS S3 bucket.
There are two ways to add files to the AWS S3 bucket:
The added files will be queued and will be uploaded to the selected S3 bucket while deploying the Data Room.
1. Upload files to DataRume Managed S3 bucket.
This option will upload files securely to the DataRume Managed S3 bucket.
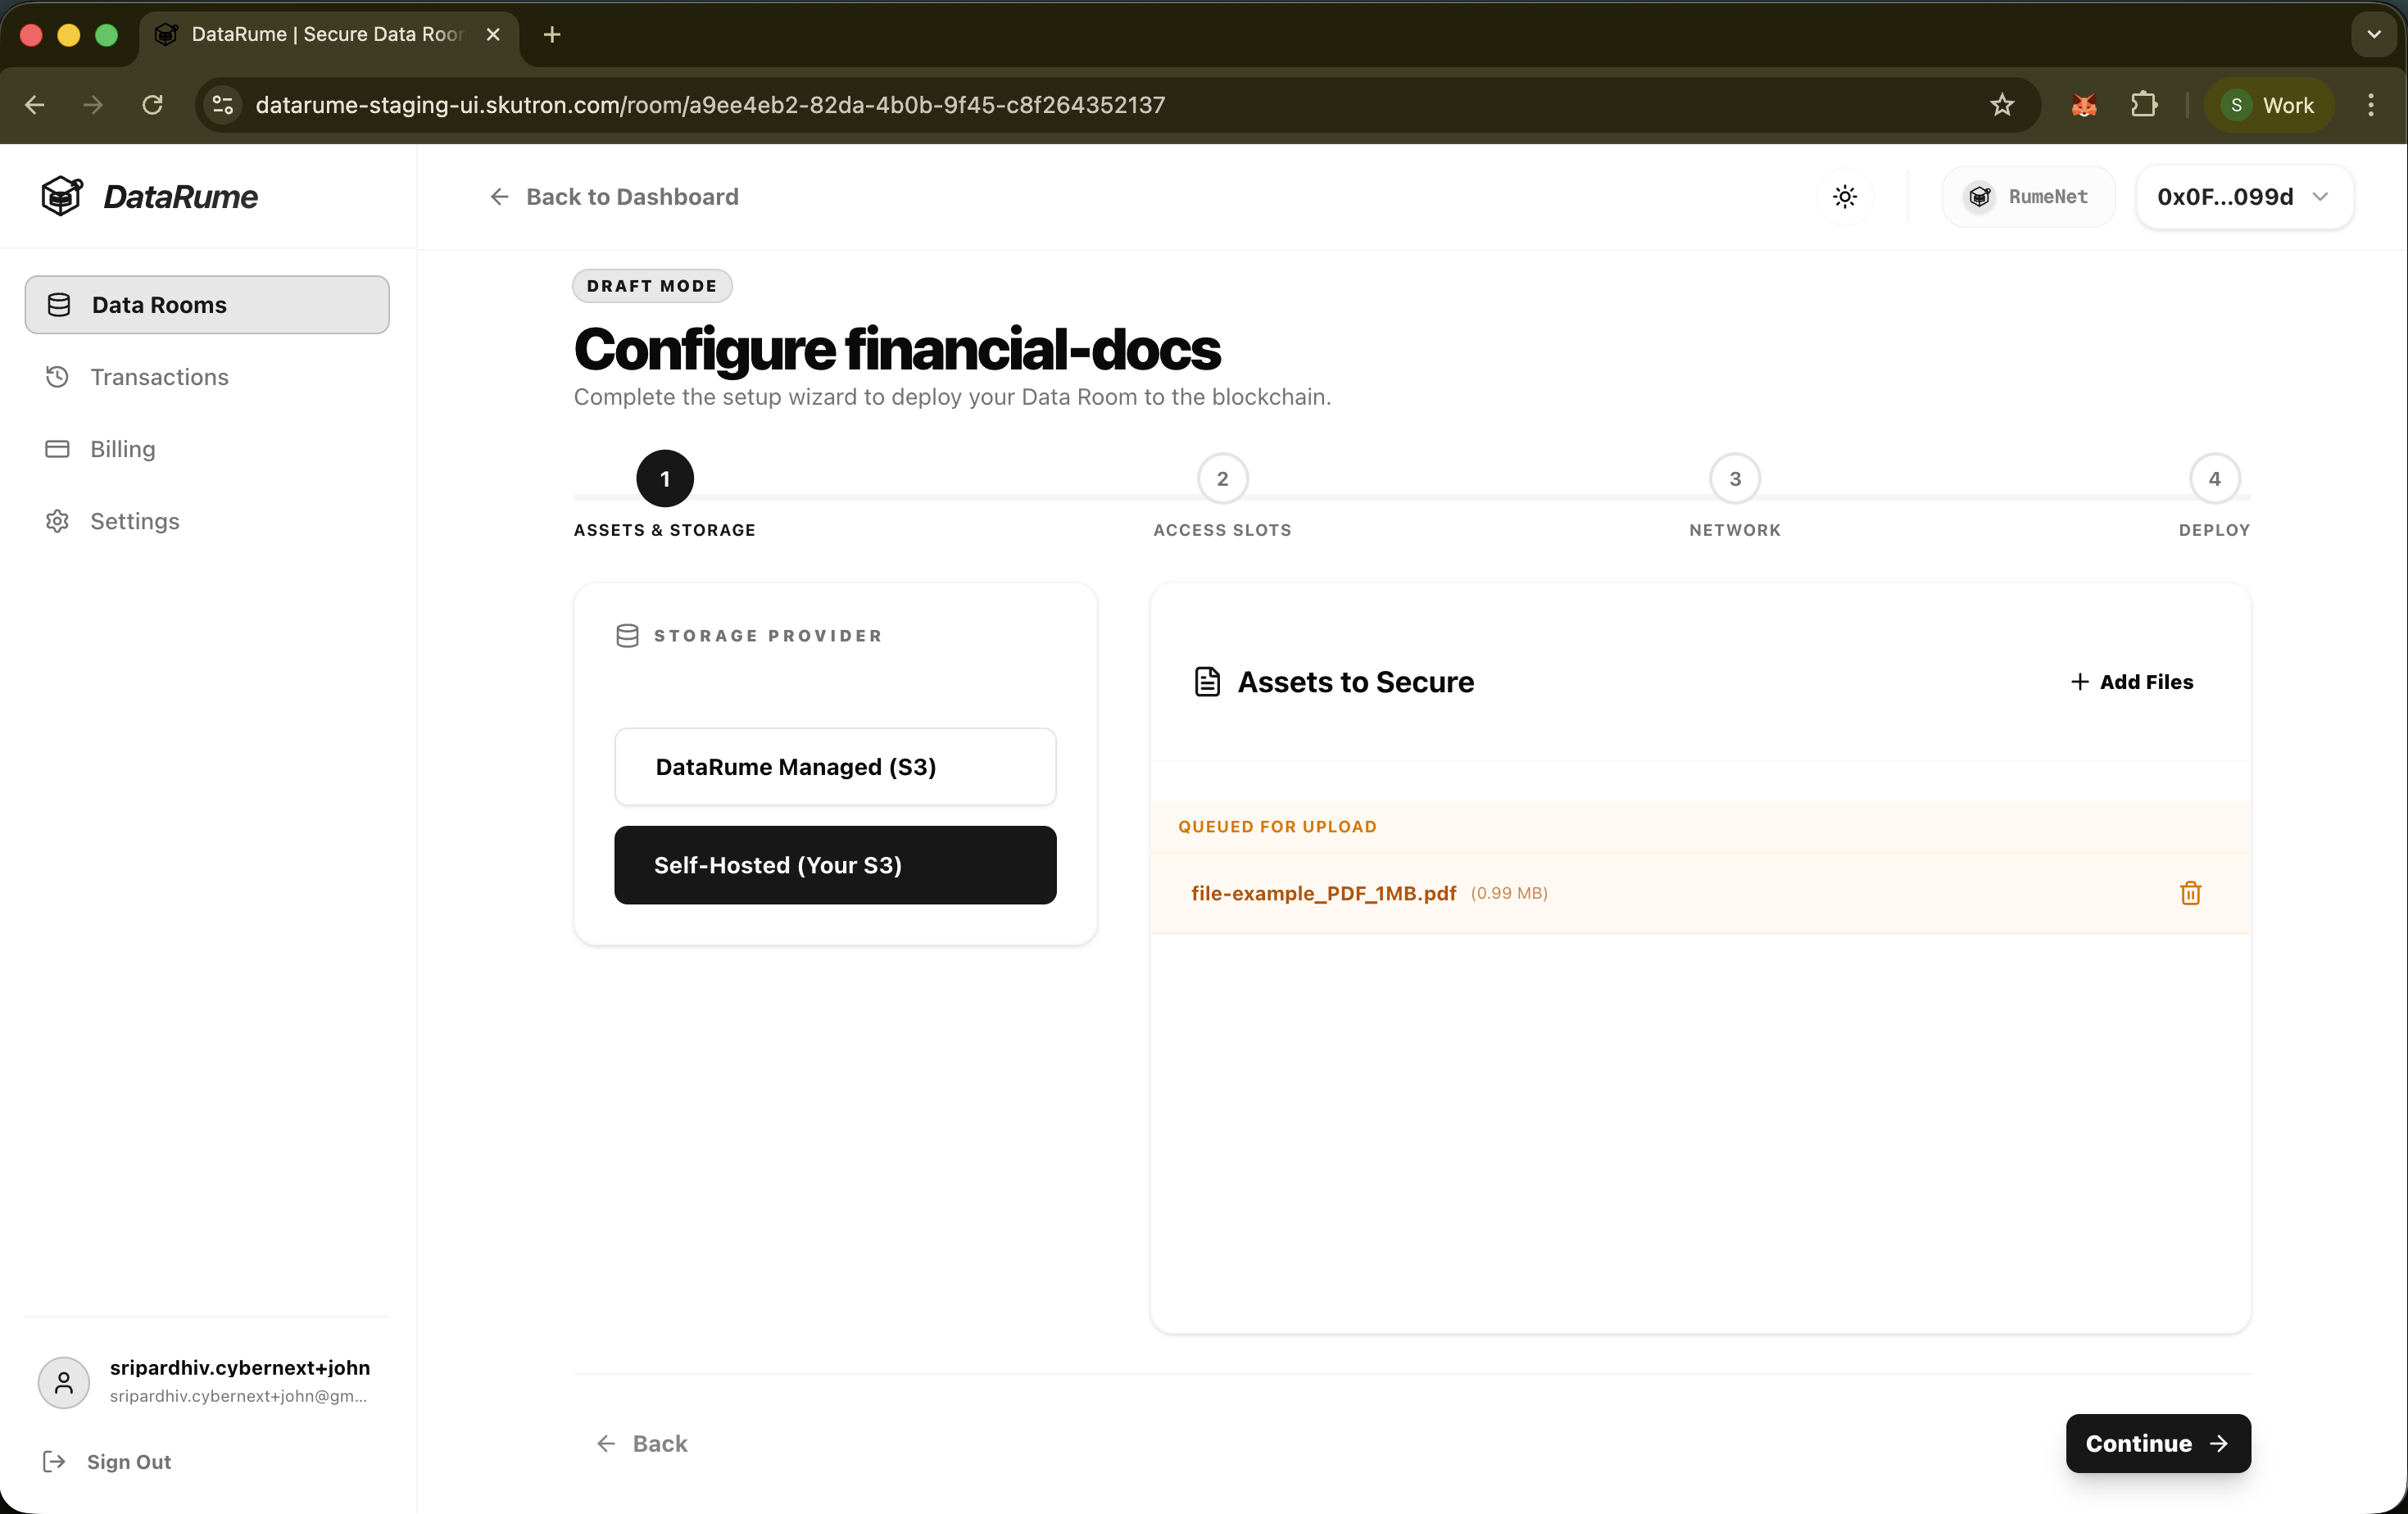
2. Upload files to Self-Hosted S3 bucket.
This option will upload files to a self-hosted S3 bucket.
To unlock this option, the AWS credentials should be configured in the Profile Settings page.
Click on the Self-Hosted (Your S3) option to upload files.
Step 2: Access Slots
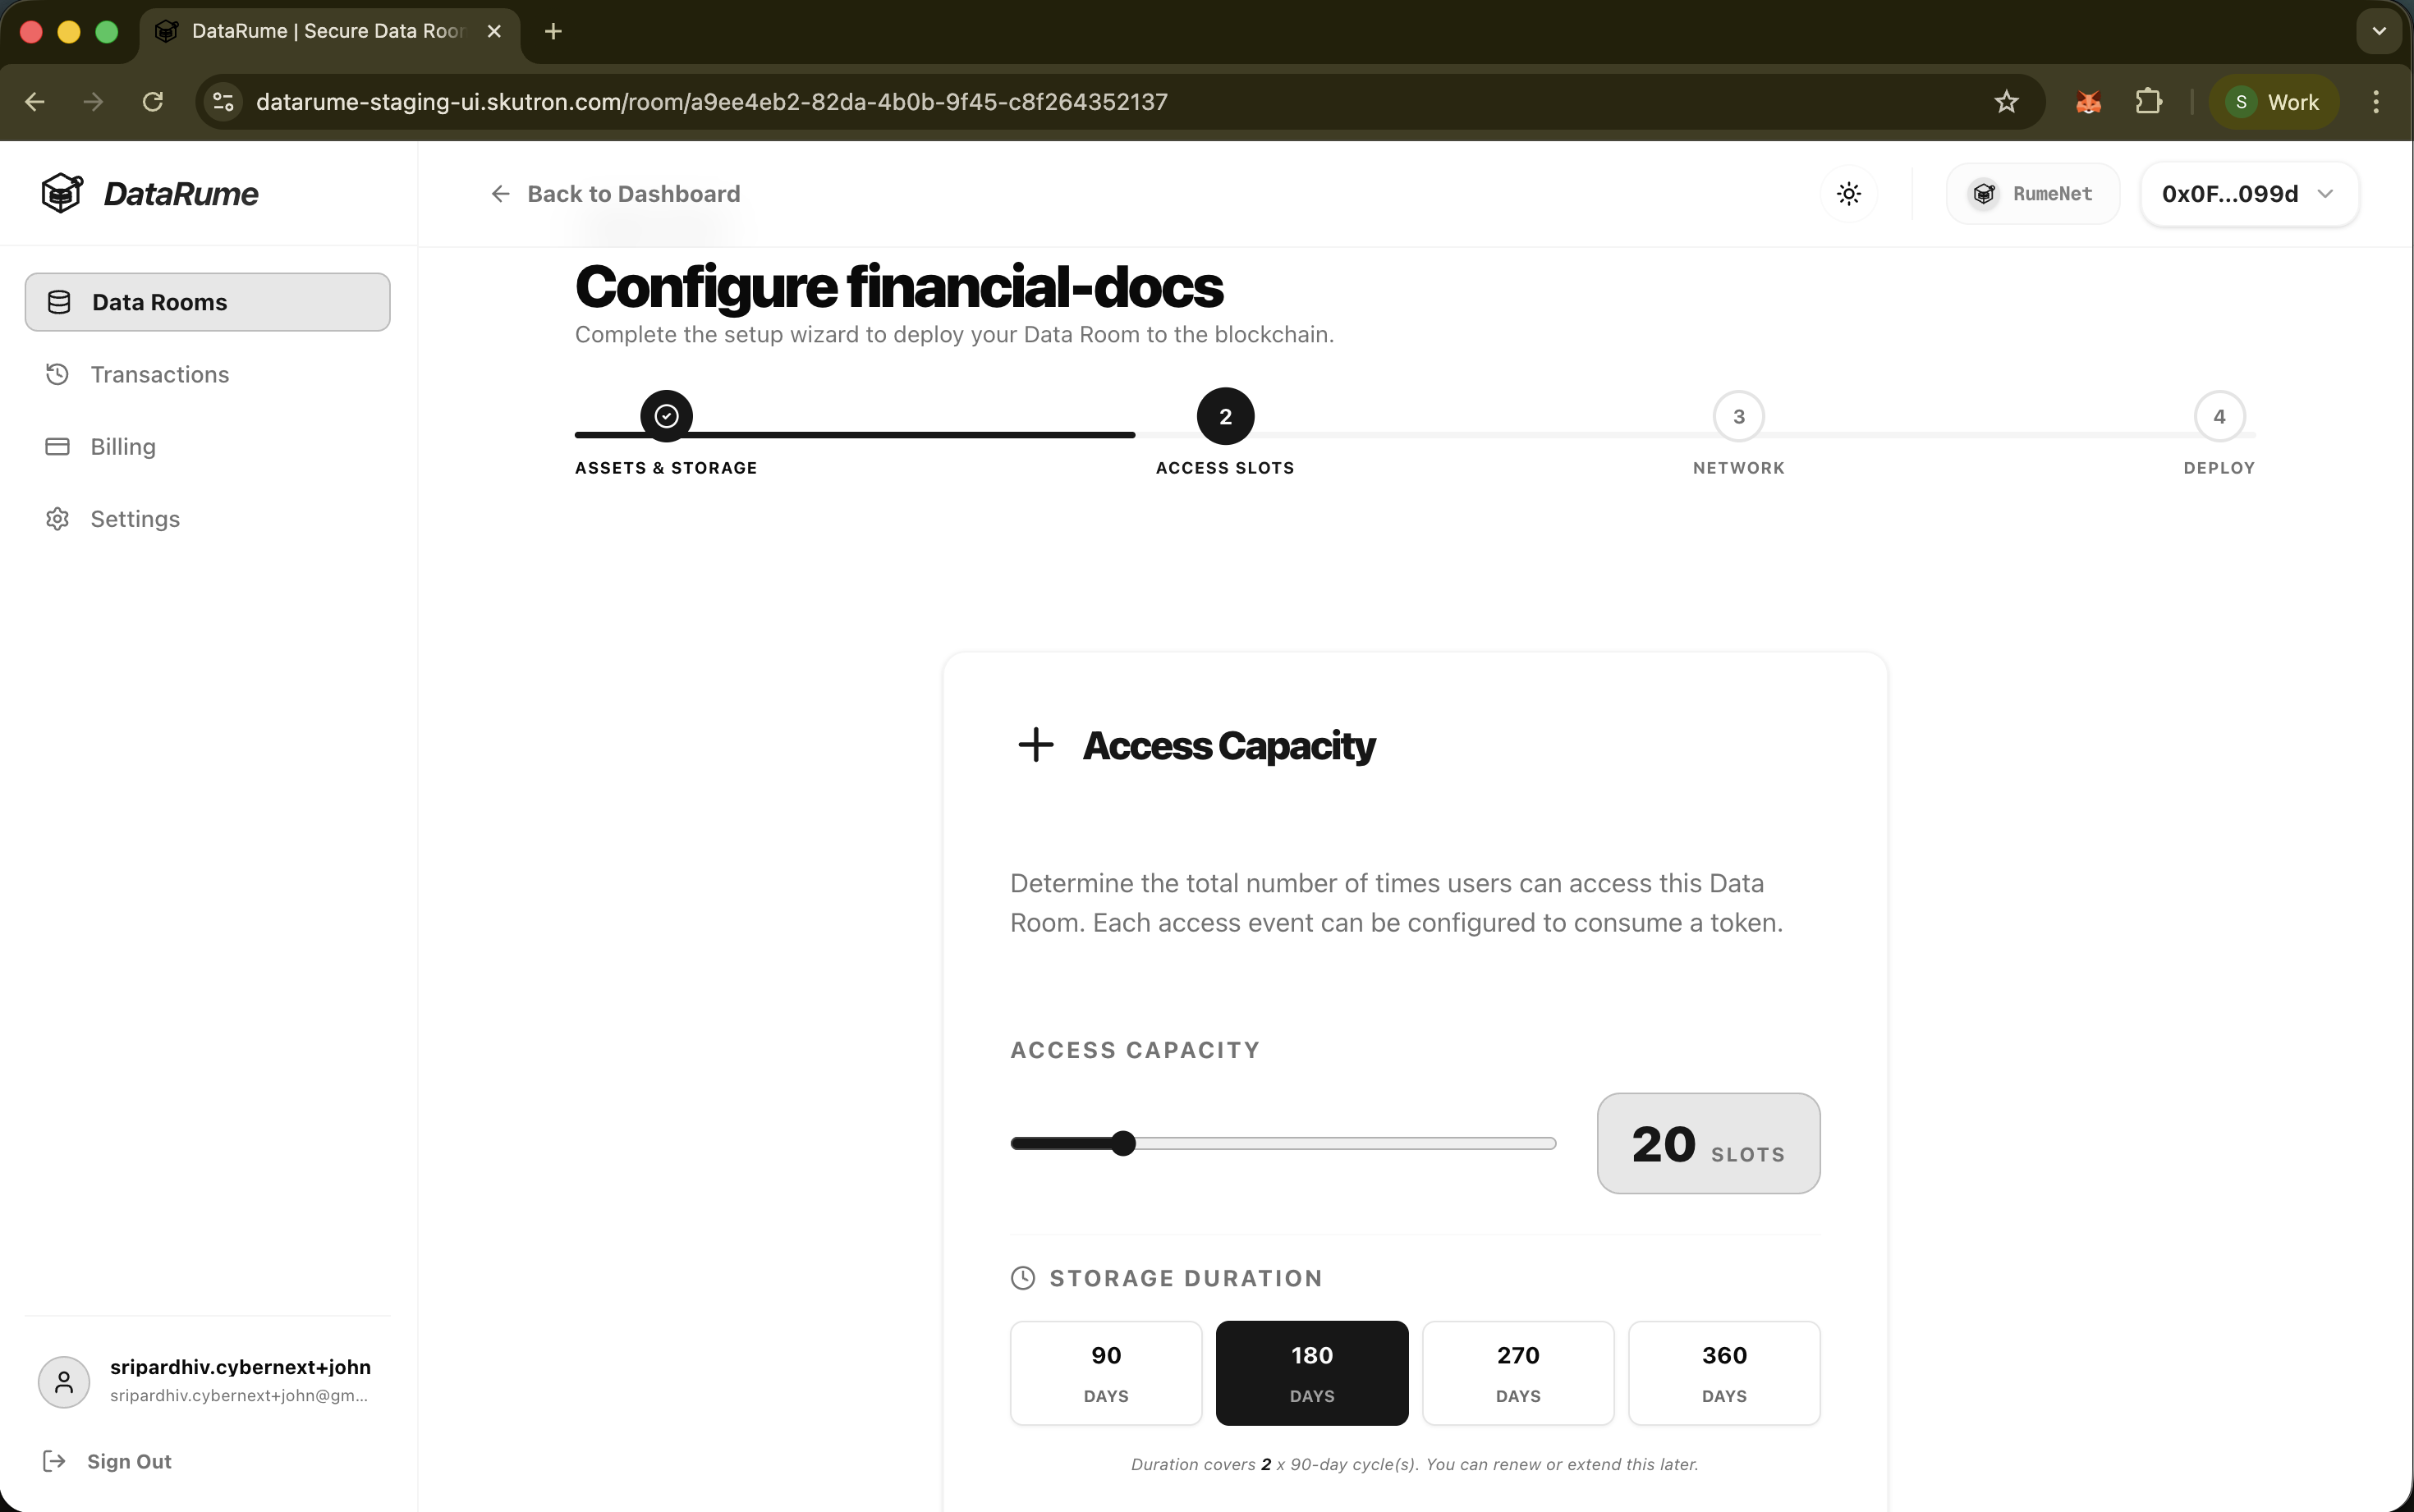
Define the access parameters for the Data Room.
- Access Slots: Specify the maximum number of times the users can access this data room.
- Access Duration: Set the validity period for the data room (in days).
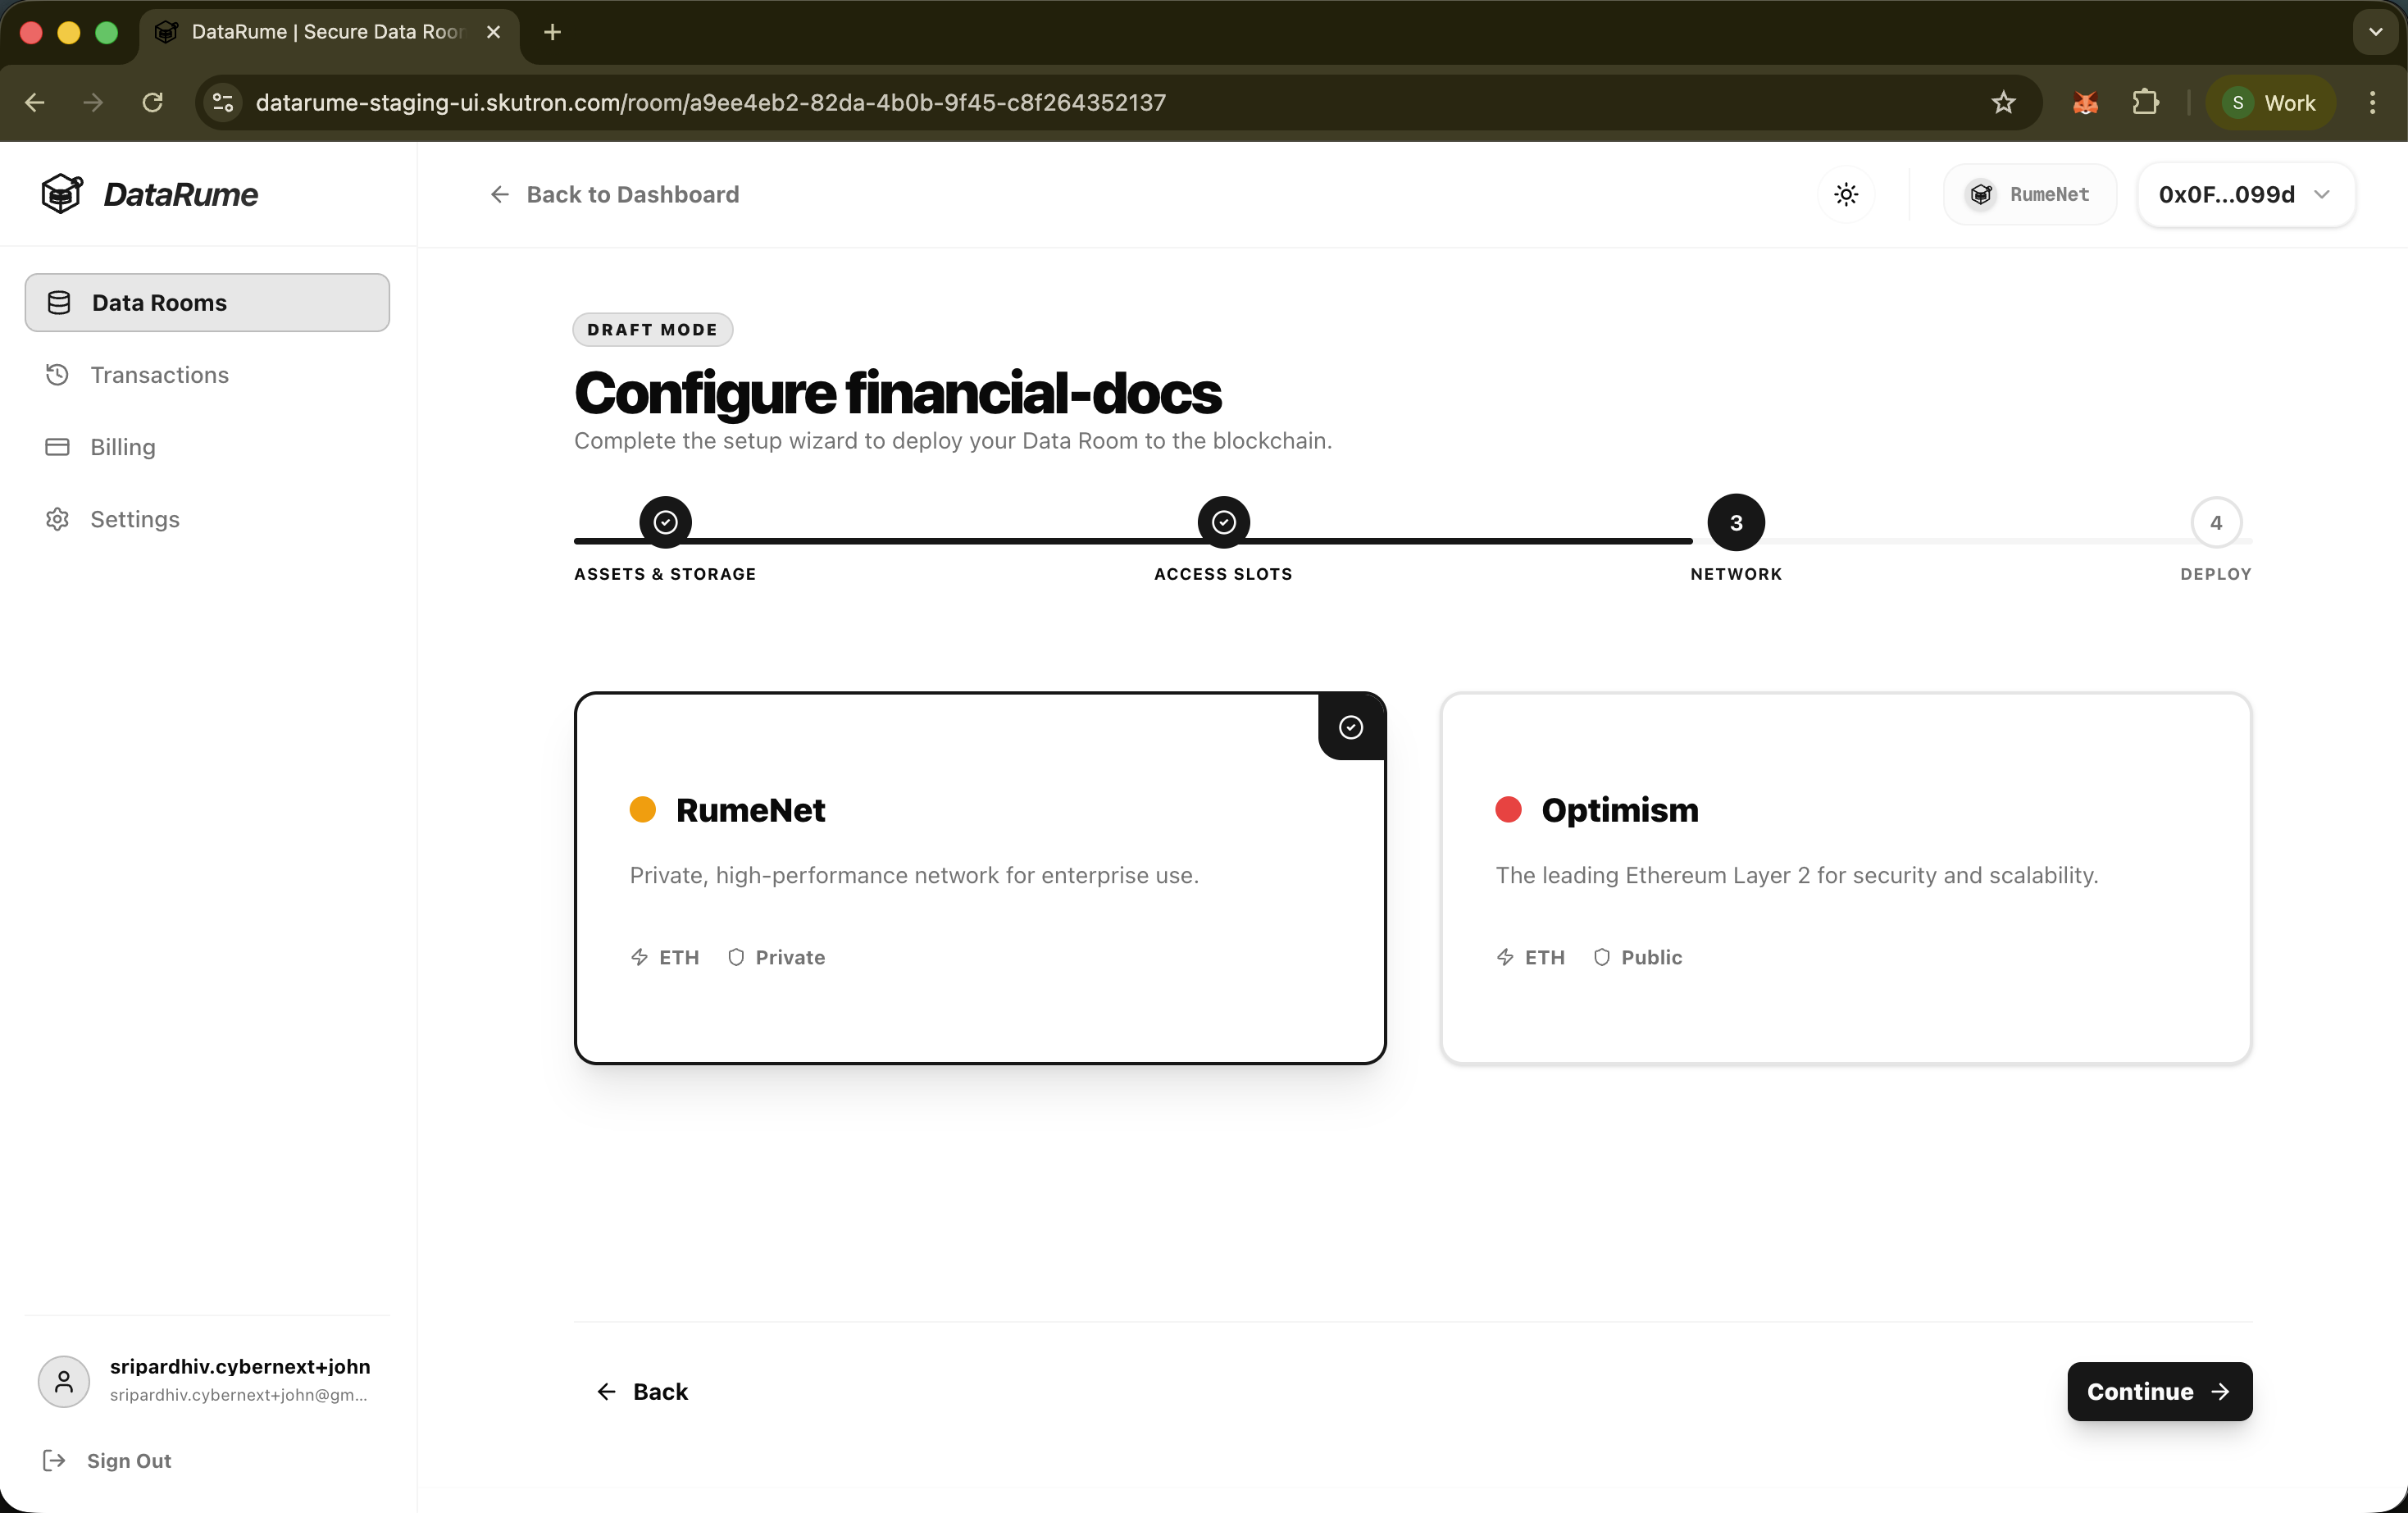
Step 3: Network
Select the blockchain network where the Data Room Manager smart contract will be deployed.
- Choose from supported networks (e.g., RumeNet, Optimism).
- The platform automatically switches the connected wallet to the selected network and fetches the current gas fees and estimated deployment costs.
Step 4: Deploy
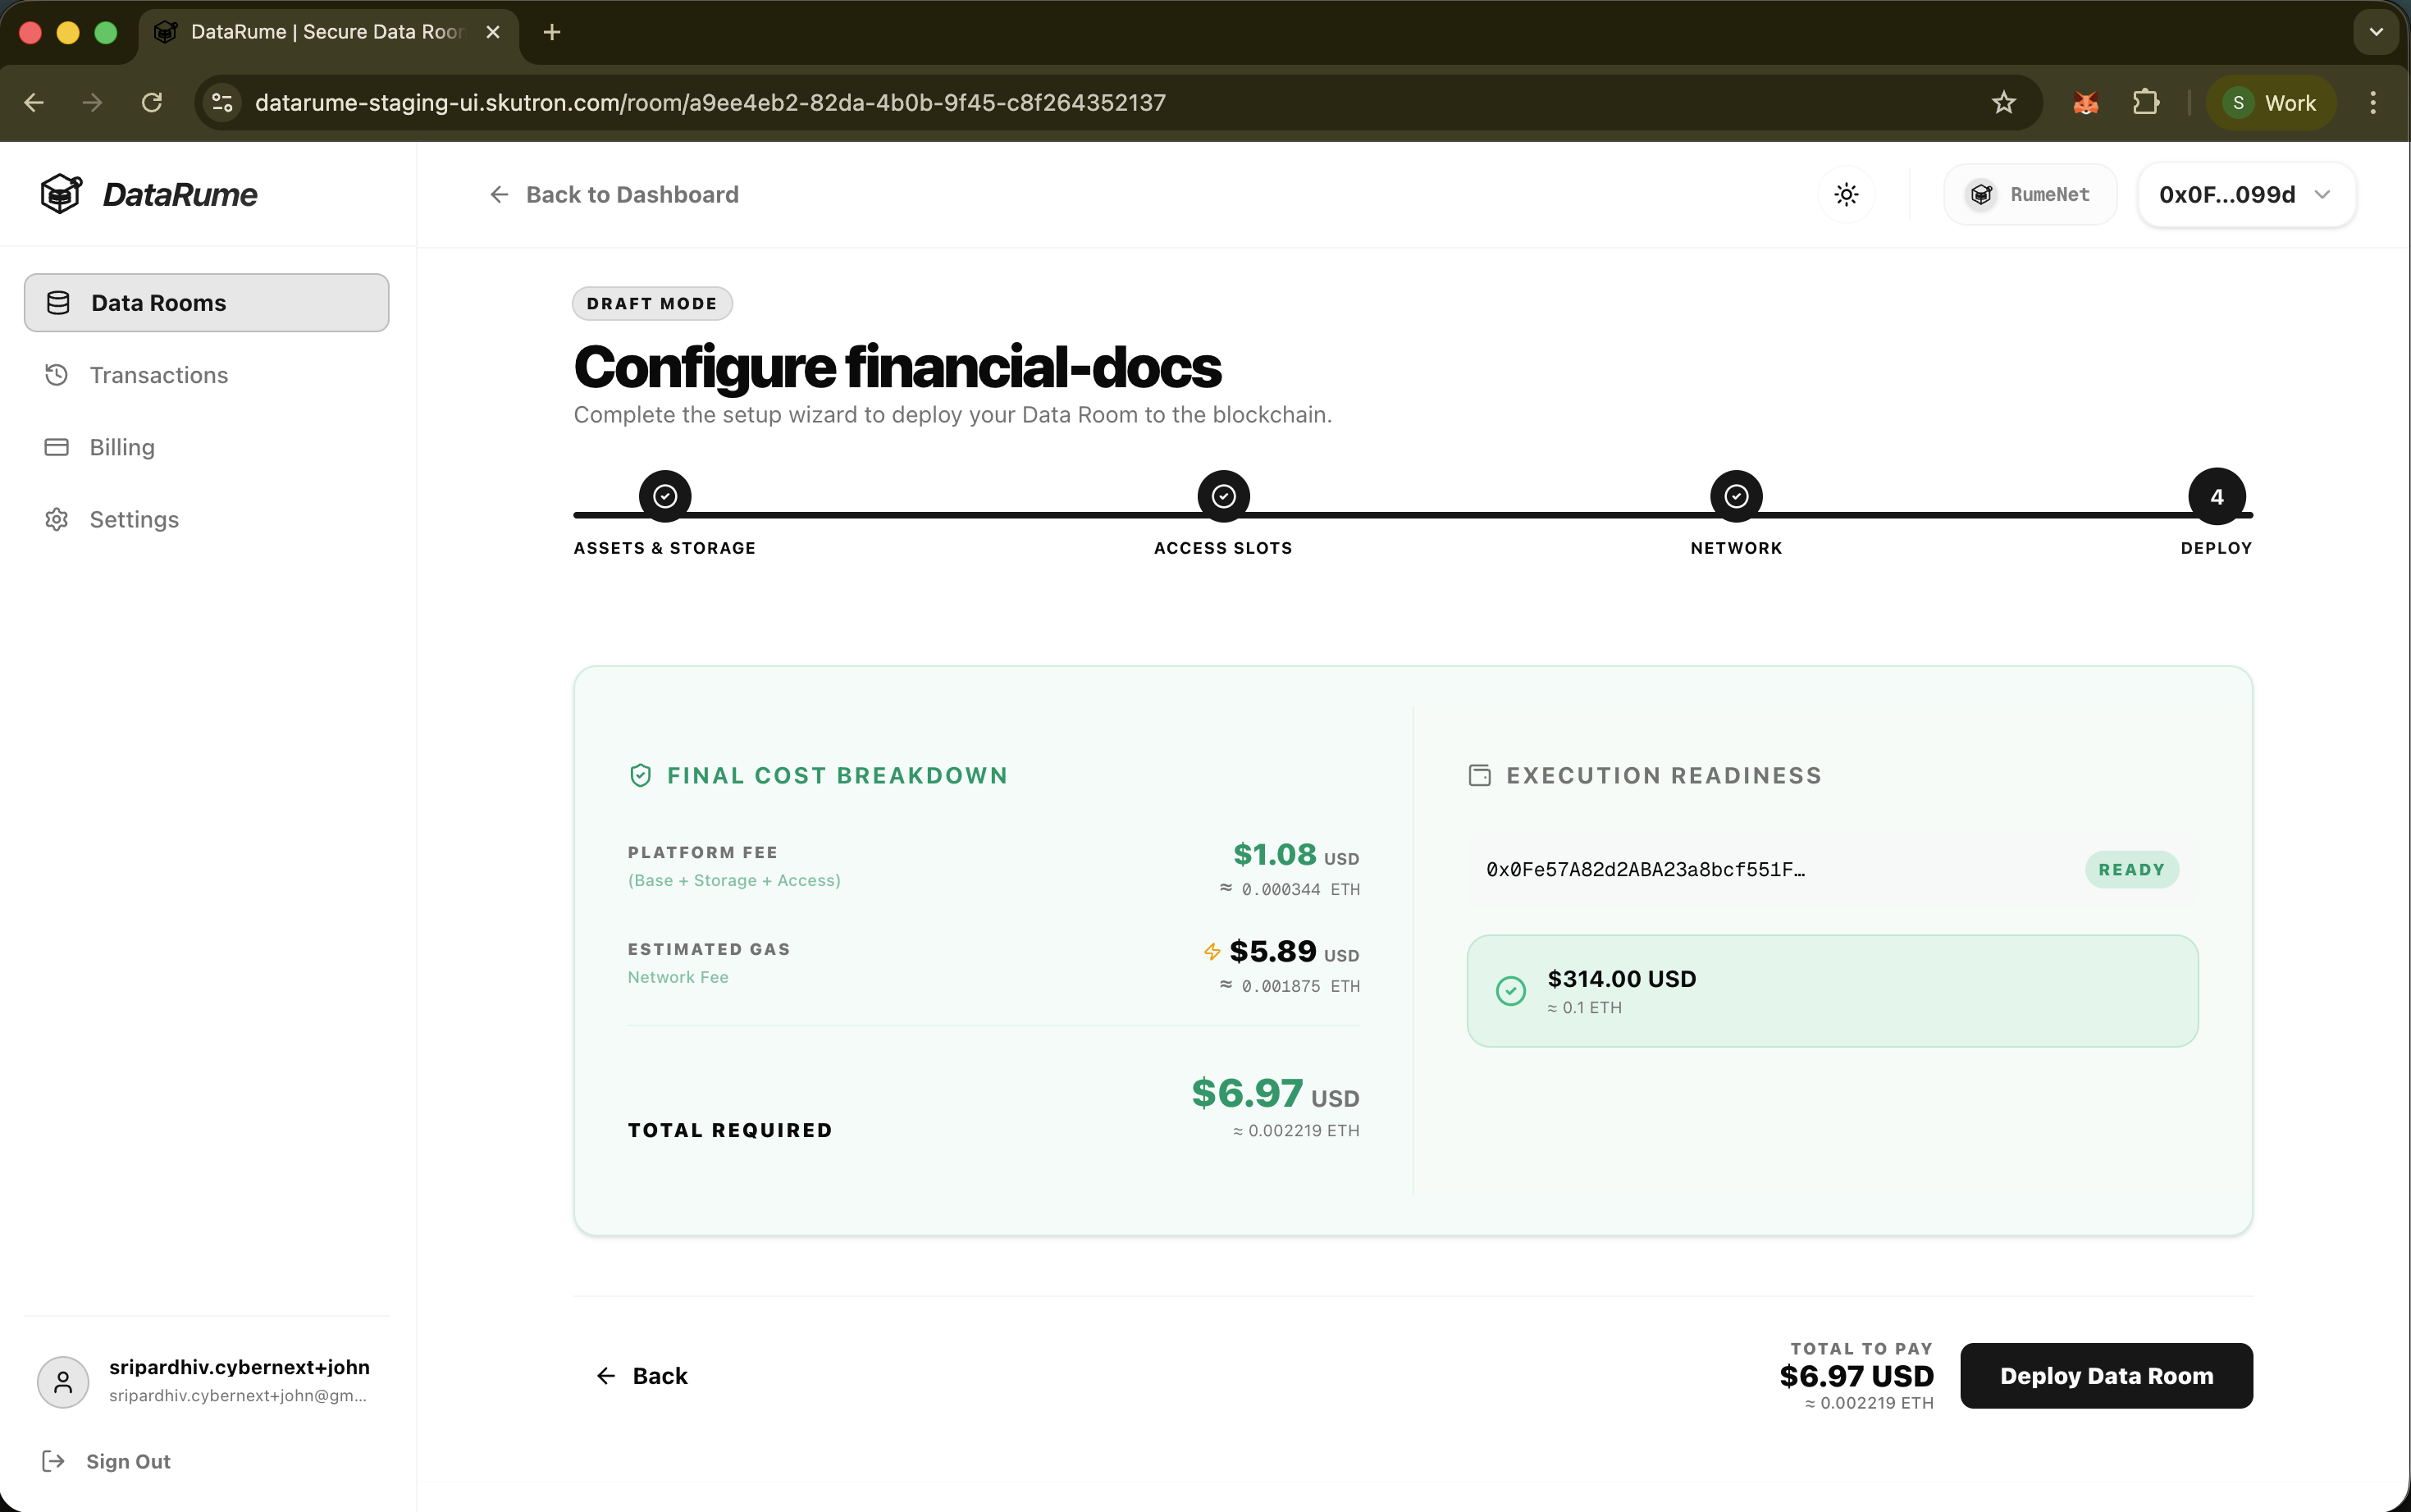
Review the configuration and finalize the deployment.
This step provides a cost breakdown:
- Platform Fee: Fees associated with hosting the assets, providing secure access and managing the data room.
- Network Fee: The estimated gas fee for the blockchain transaction.
- Total Cost: The sum required to deploy the room.
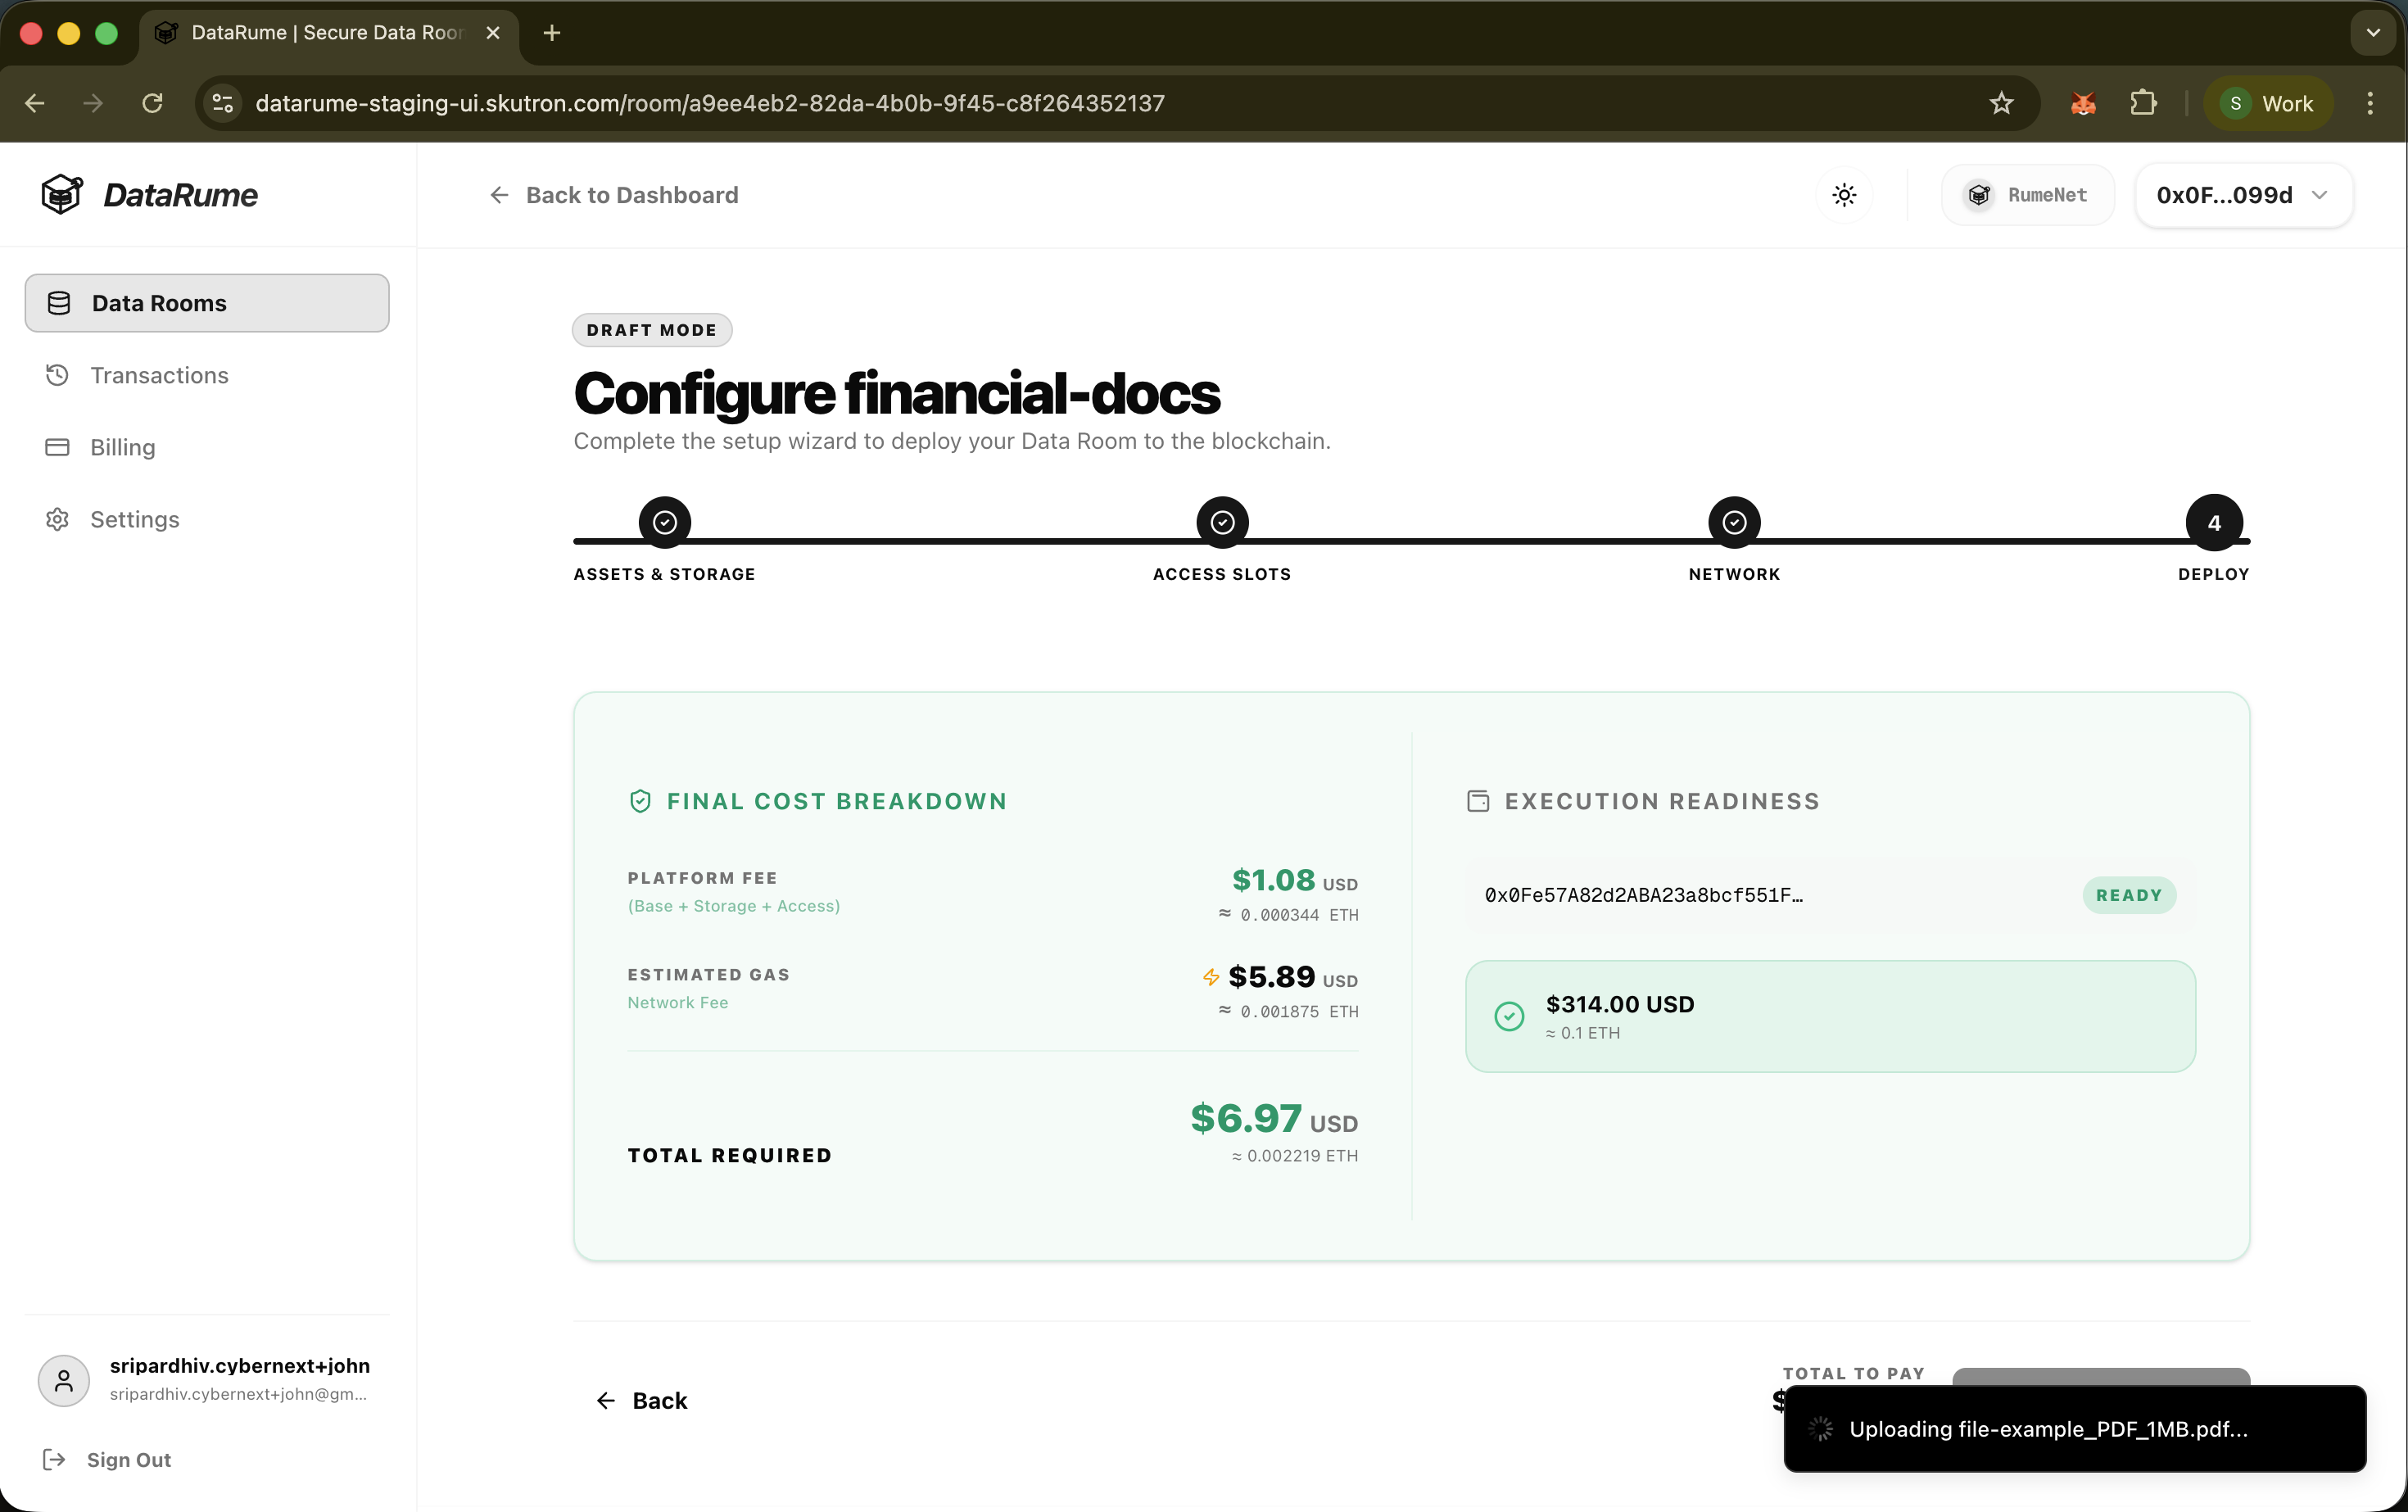
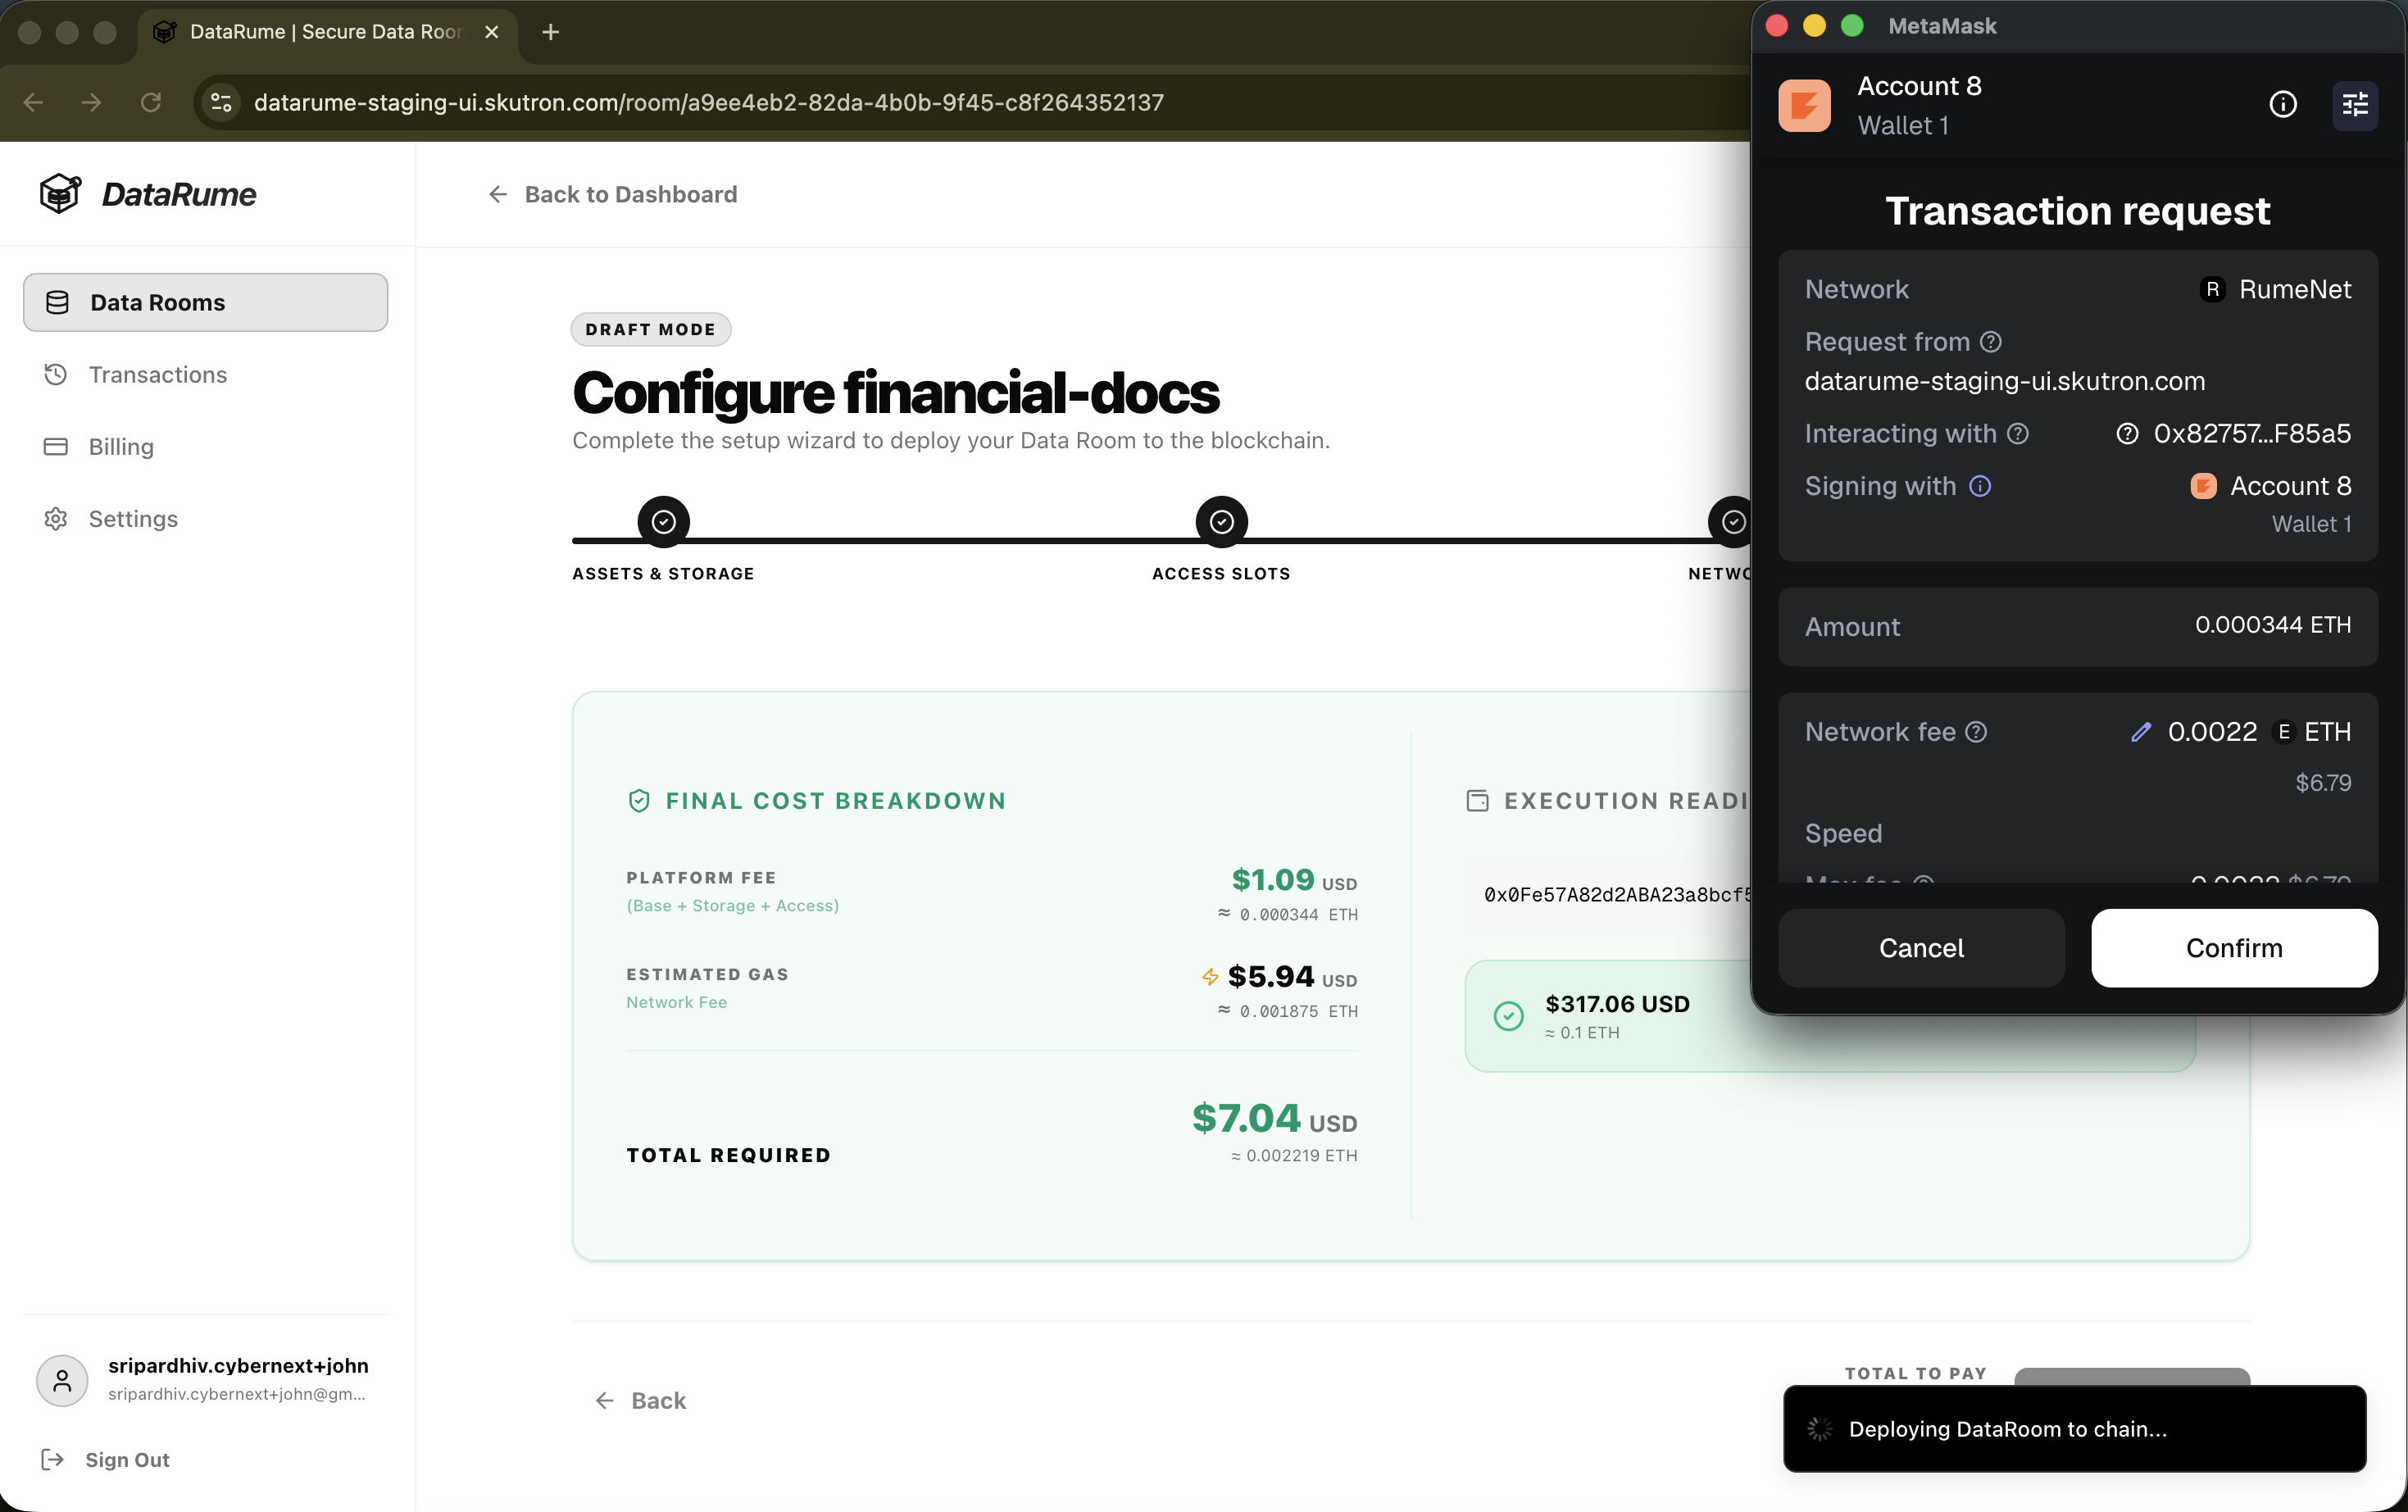
Data Room Owner needs to click Deploy Data Room to sign the transaction with their wallet and initialize the Data Room on-chain.
- This action will upload the files to the selected S3 bucket and deploy the Data Room Manager smart contract on the selected blockchain network.
Data Room Details
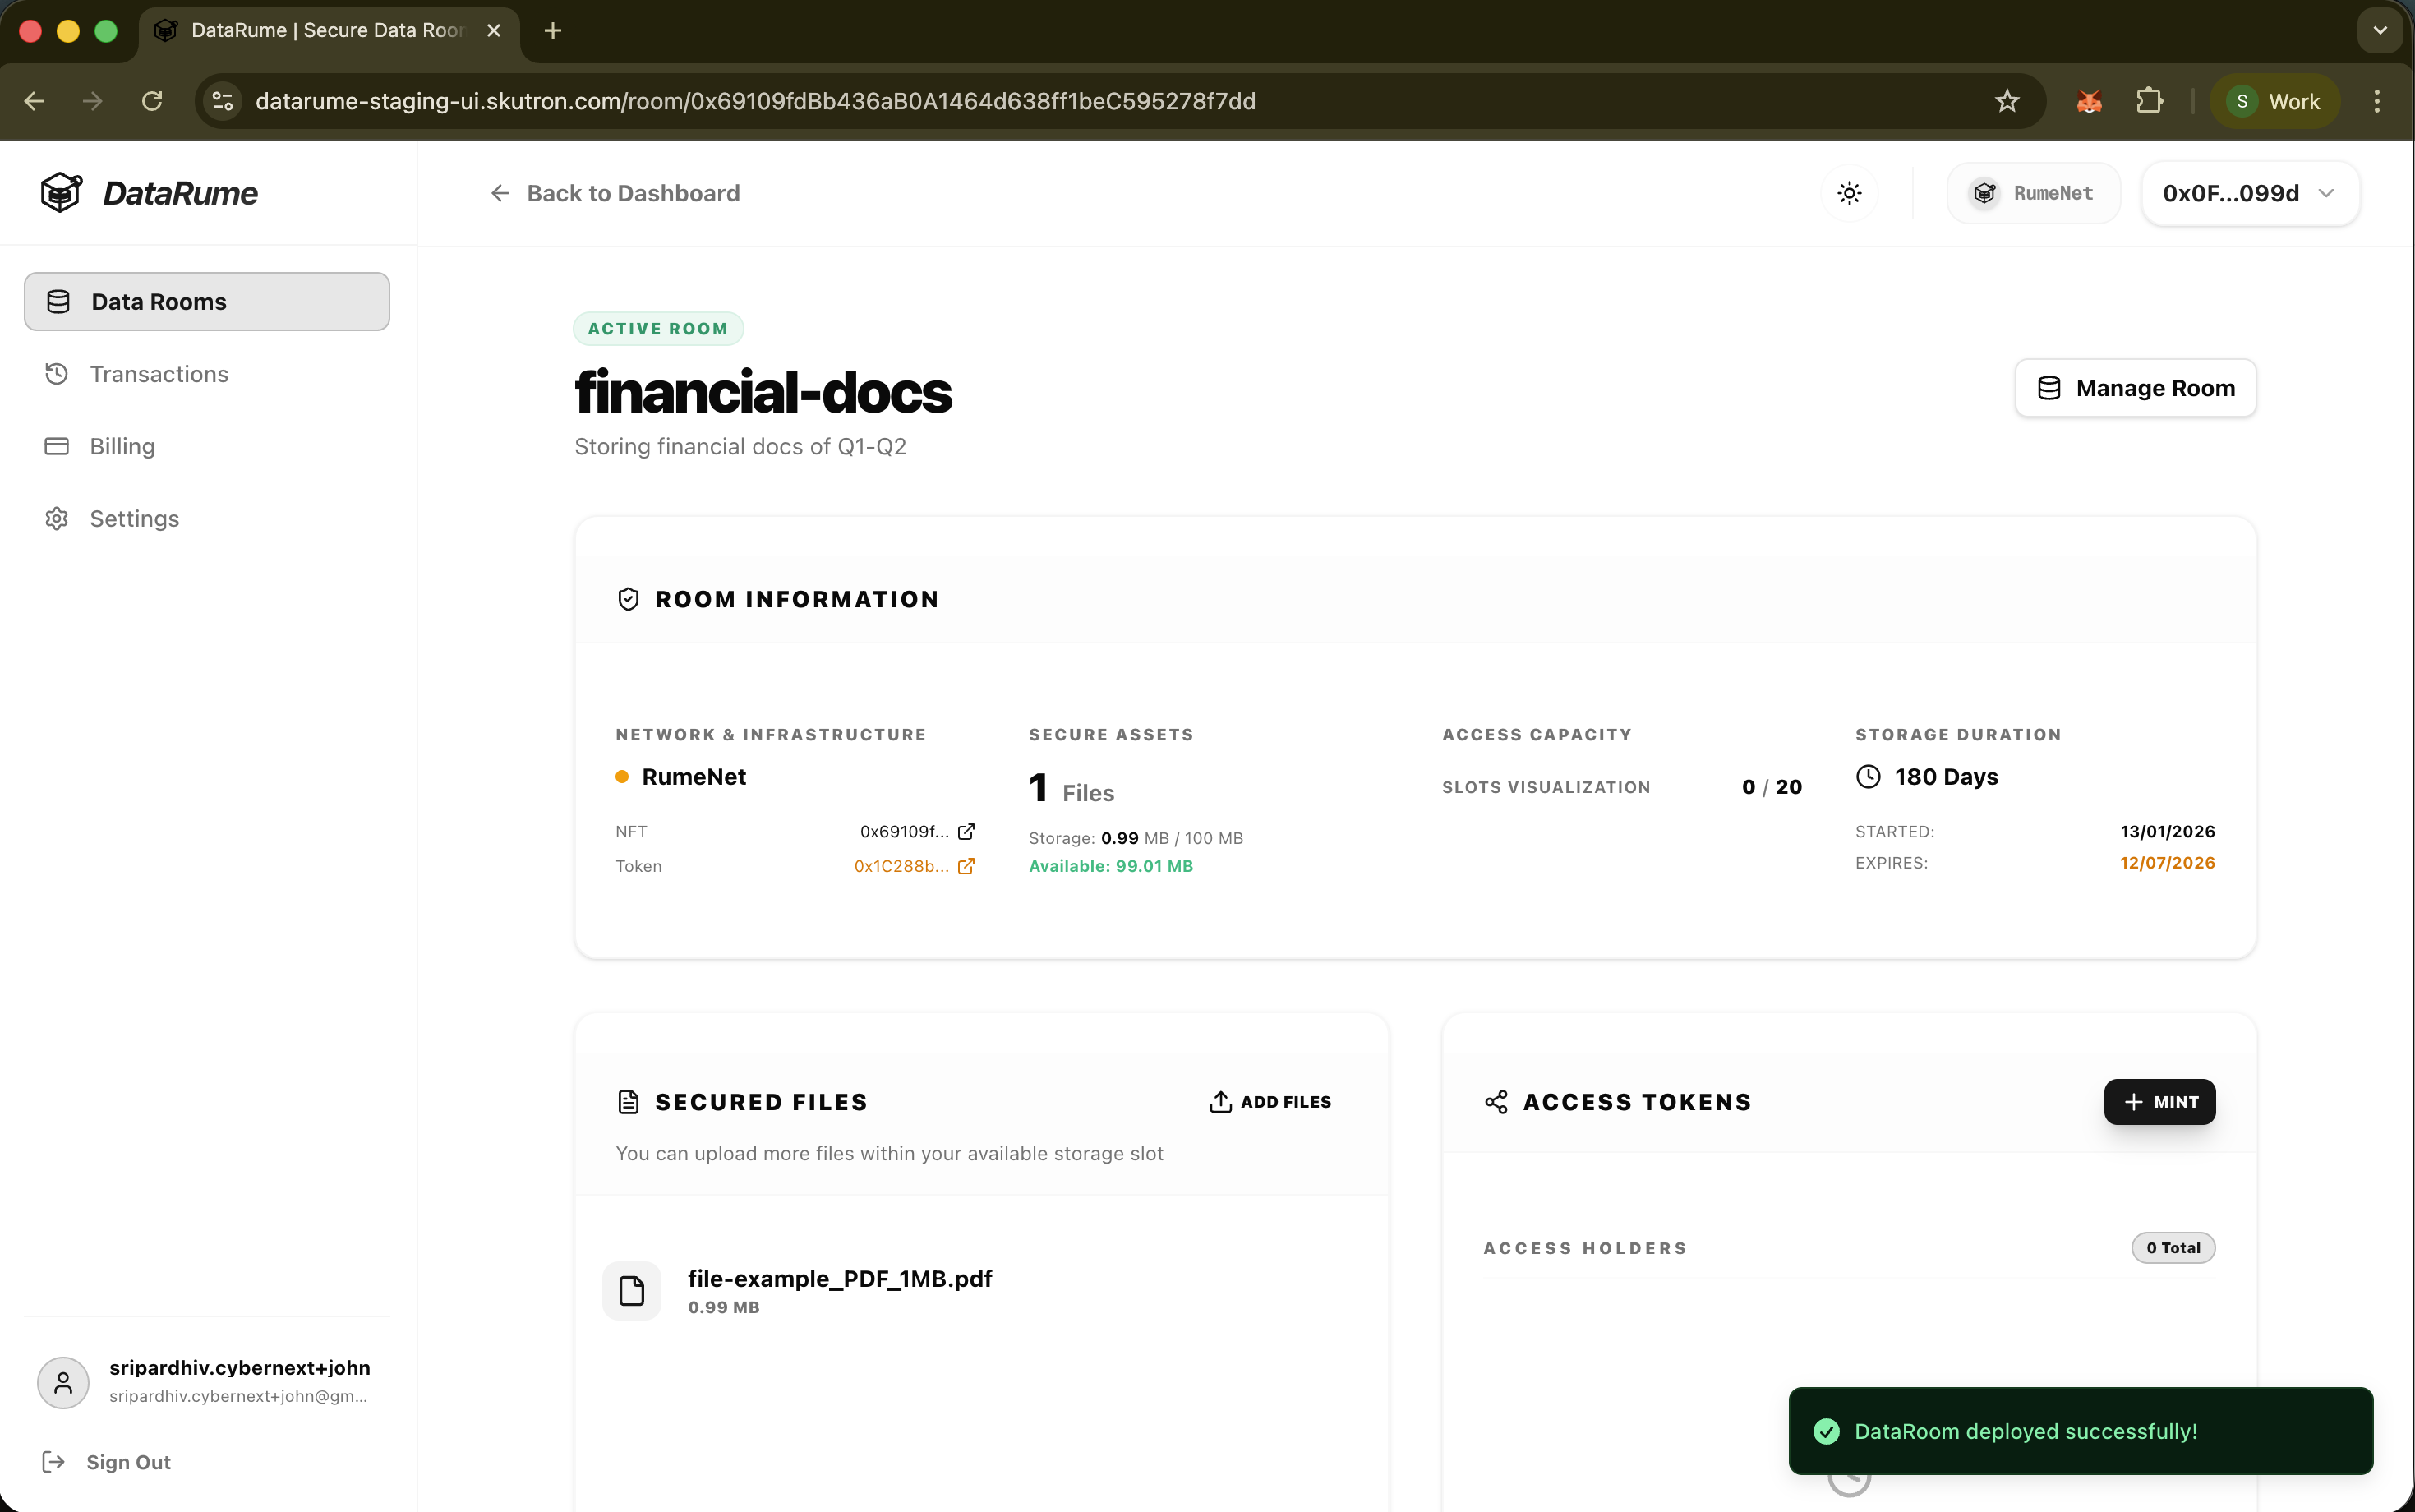
After successful deployment, the Data Room Owner will be redirected to the Data Room Details page.
- This transaction will create a dataNFT (ERC-721) and dataToken (ERC-20) on the selected blockchain network.
- The dataNFT will be used to represent the Data Room on the blockchain.
- The dataToken will be used to represent the access tokens for the Data Room.
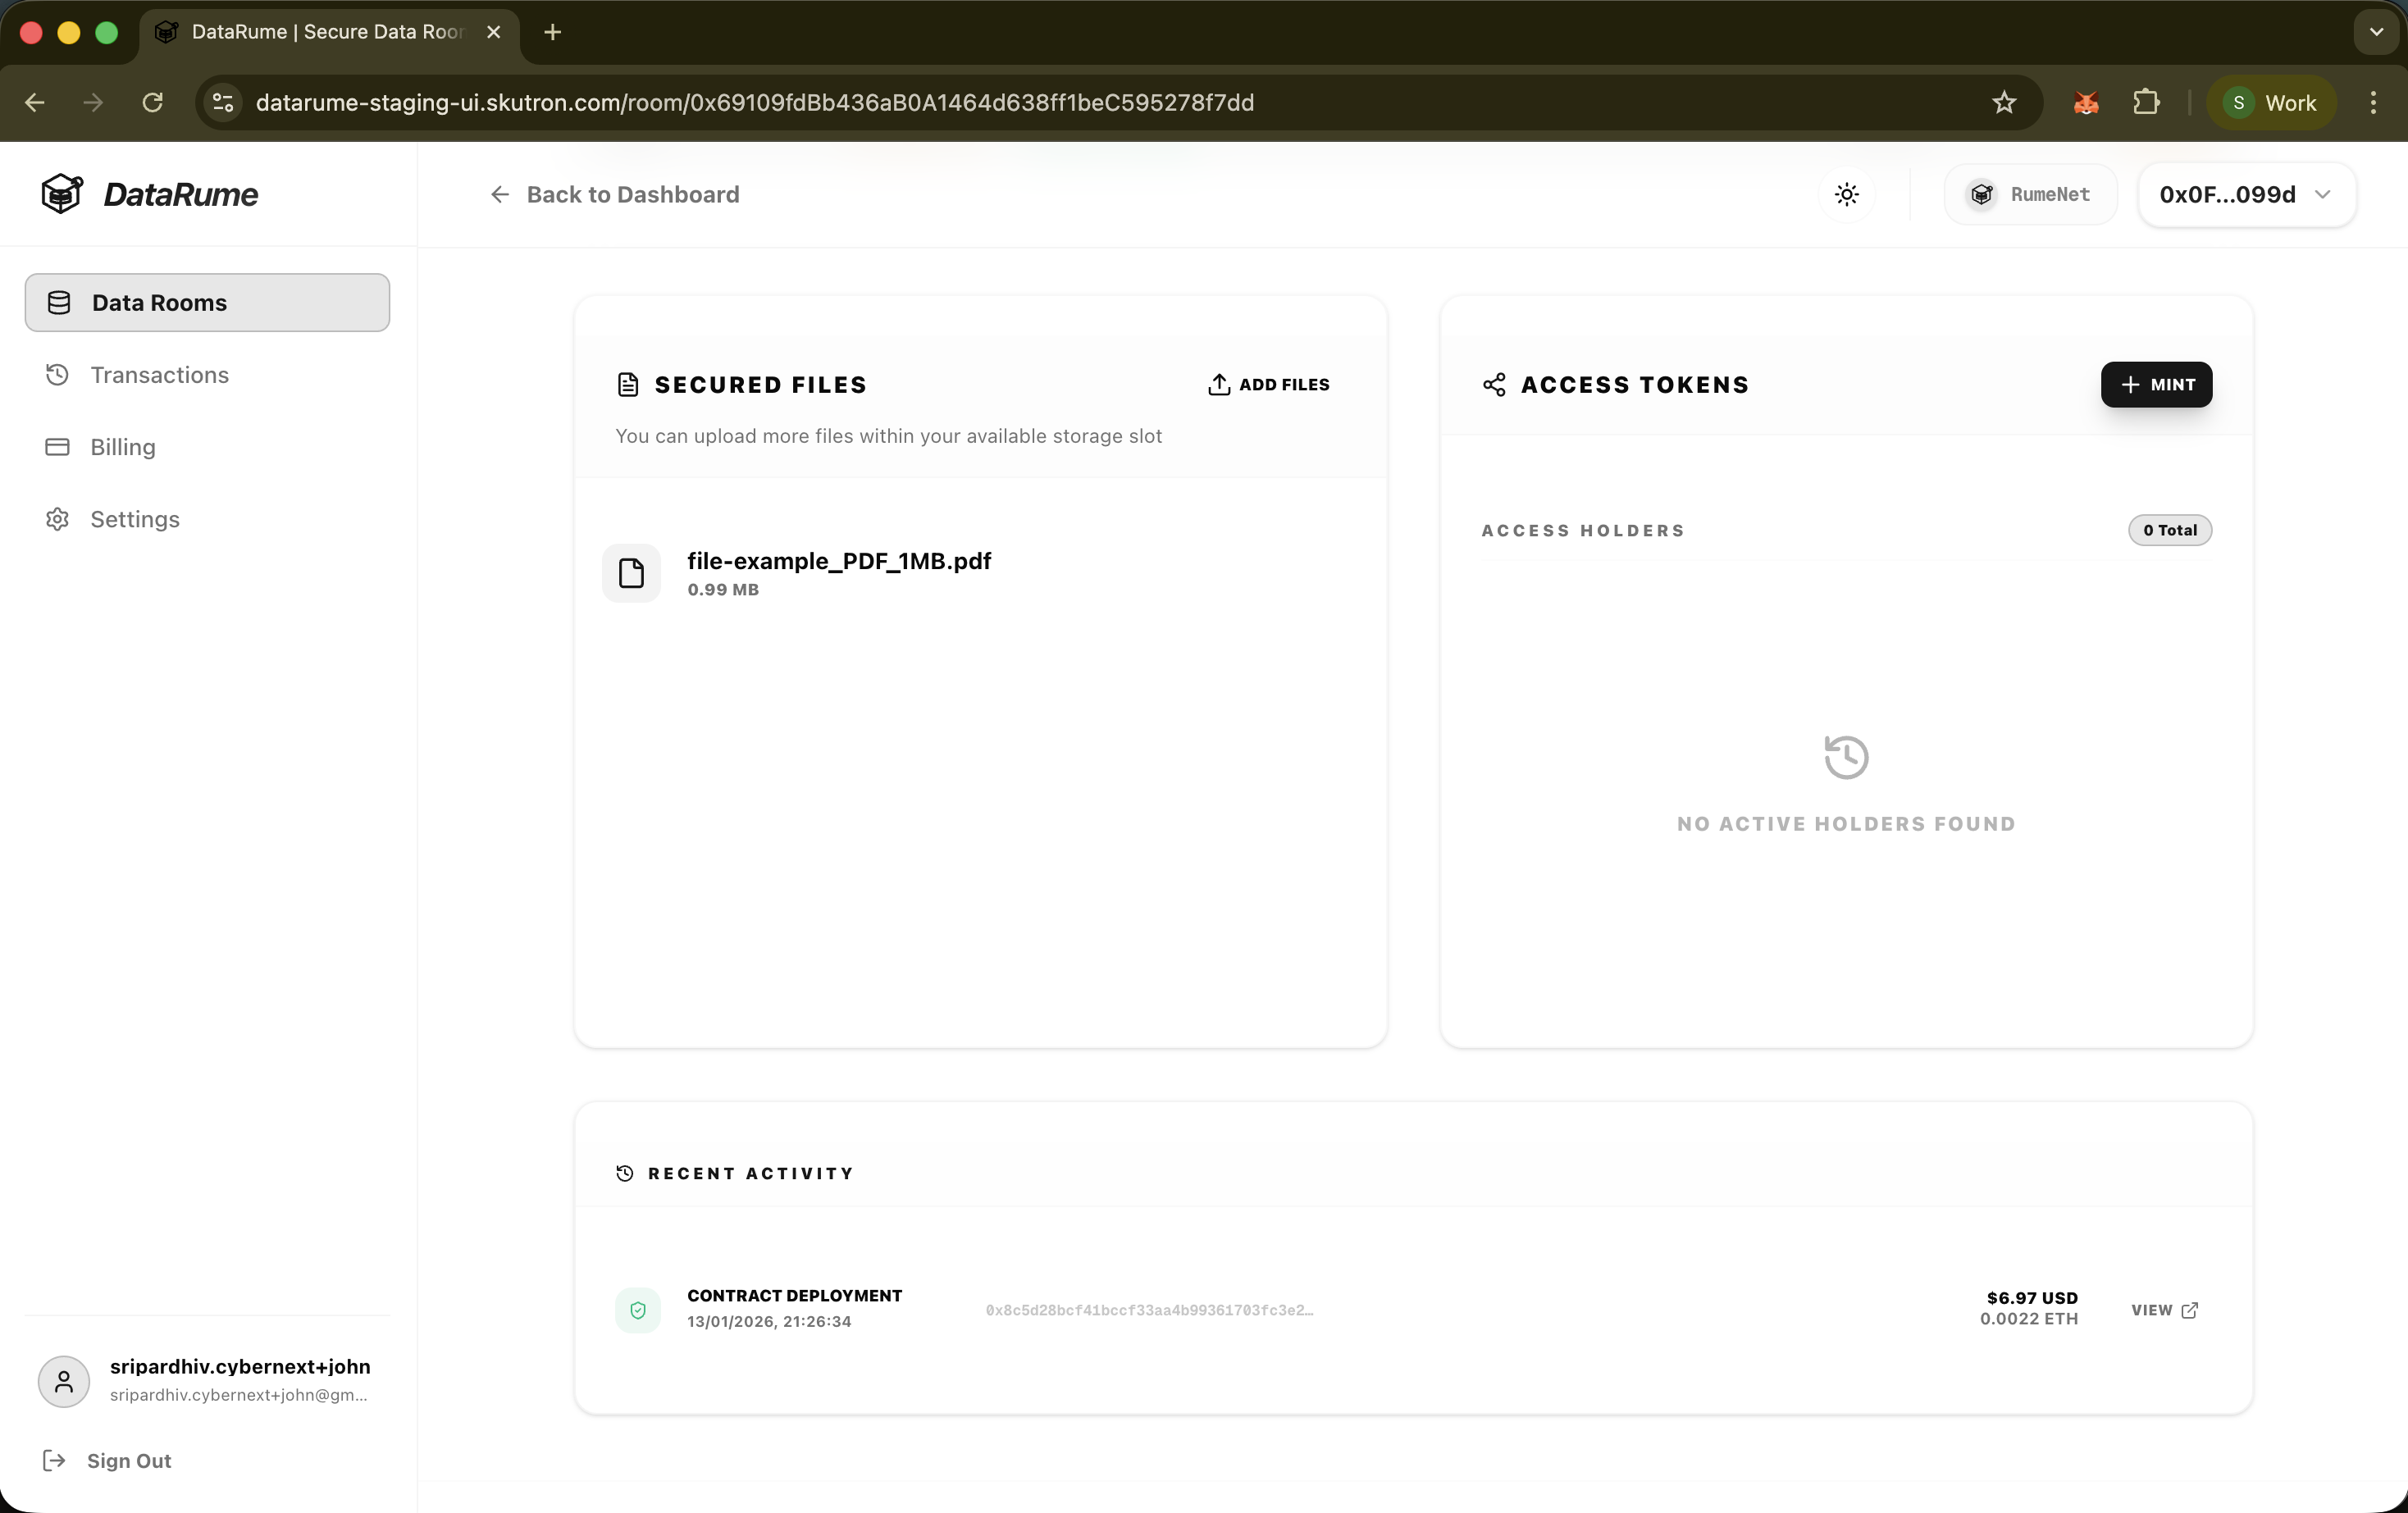
- The Data Room Details page provides a summary of the Room Information, including the Network & Infrastructure (along with the dataNFT and dataToken addresses), Secure Assets, Access Capacity, Storage Duration, Active Access Token Holders and the Recent Activity.
- The status of the Data Room will be Active after successful deployment.